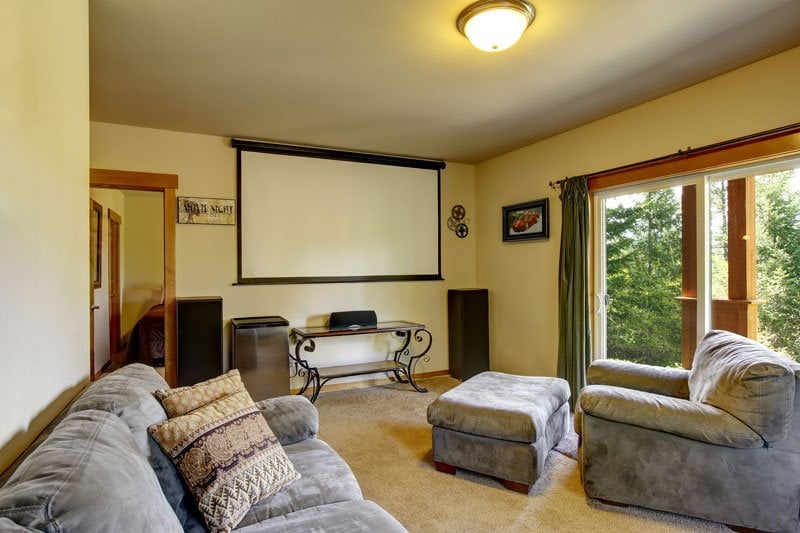
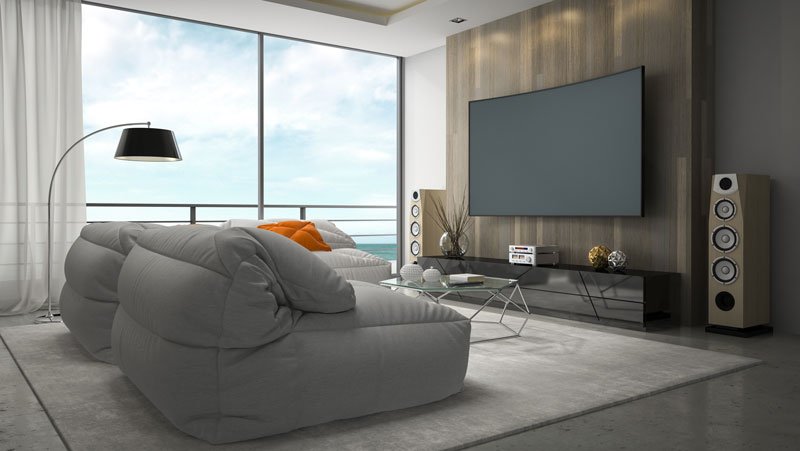
Do you enjoy going to see blockbuster films on the big screen? Do you ever wish you could experience some of your favorite movies in the theater once again? Well, with the right home theater projector screen, you can bring the cinema experience to your own home.
There are lots of benefits to creating a home theater. First, if you’re a big movie lover, it will save you some money over the long run, considering how the prices of movies and theater snacks have increased over the years. It also puts you completely in control of what you watch, when you watch it, and who you watch it with. Plus, it can be a great bonding experience for the whole family!
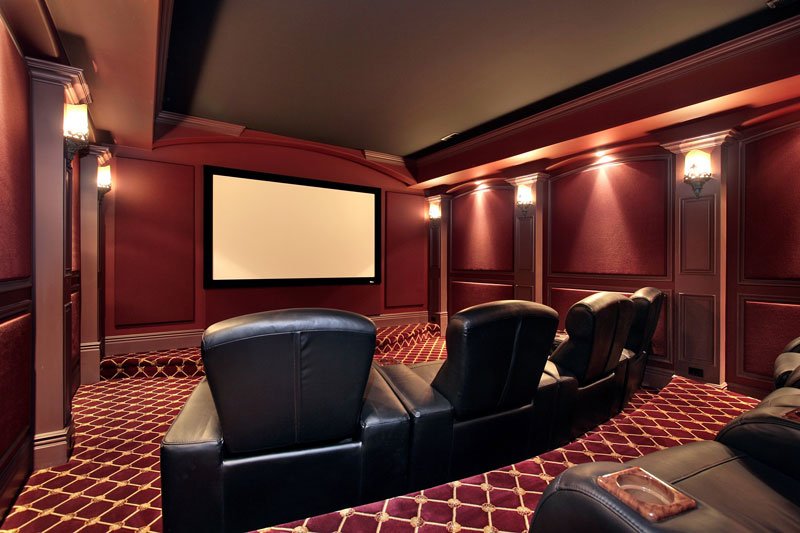
In order to create a comfortable and functional home movie theater, you need to purchase the right items to enhance the viewing experience. This includes picking comfortable theater chairs, a great surround sound speaker system, and – of course – a home theater projector screen.
Now, a projector screen isn’t necessarily the most technical element to creating a home theater. But it is incredibly important that you choose the right size and material – as this can have an effect on the quality of the image from the projector.
Considering that 54% of people prefer to watch a movie at home while only 13% would rather go to a theater, it is no surprise that the demand for home theater products has increased. In fact, the global market for projector screens alone is expected to be worth over $308 billion in just a few years!
Since the market for home projector screens is incredibly large, this means there are lots of options to choose from. So, you may be wondering:
- How to choose a projector screen for your home?
- How to measure projector screen size?
- What type of projector screen should I buy?
- What difference do the materials, sizes, or colors make?
This is why we have created a projector screen guide to help you find the perfect home theater setup.
For starters, let’s break down the different types of screens that are available.
Types of Home Theater Projection Screens
First and foremost, you will need to narrow down the type of mounting style for your projection screen. There are three main types to pick from:
Fixed
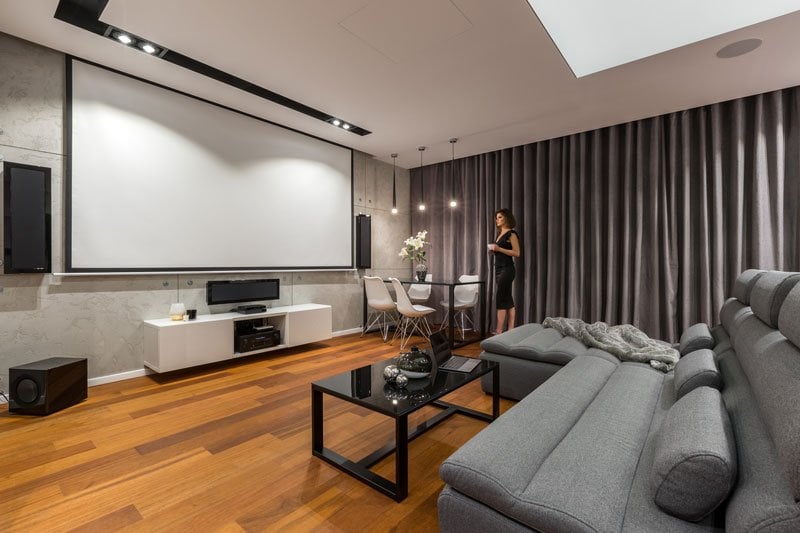
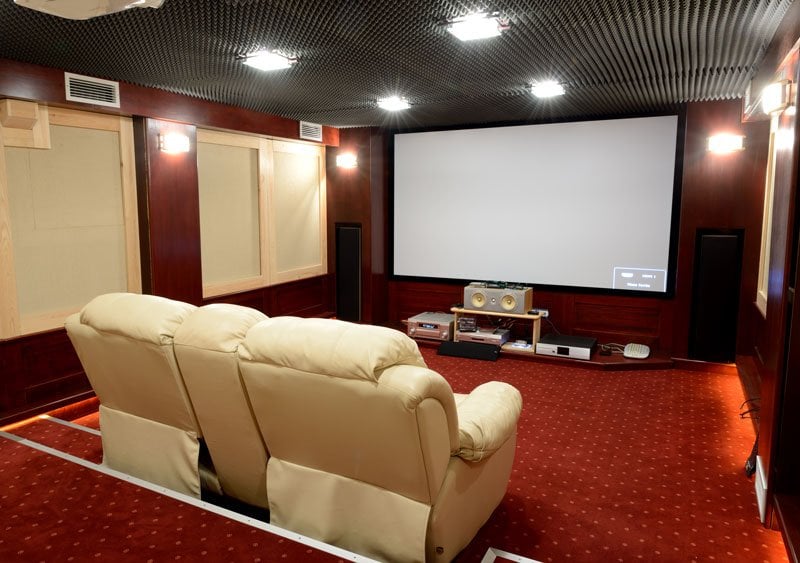
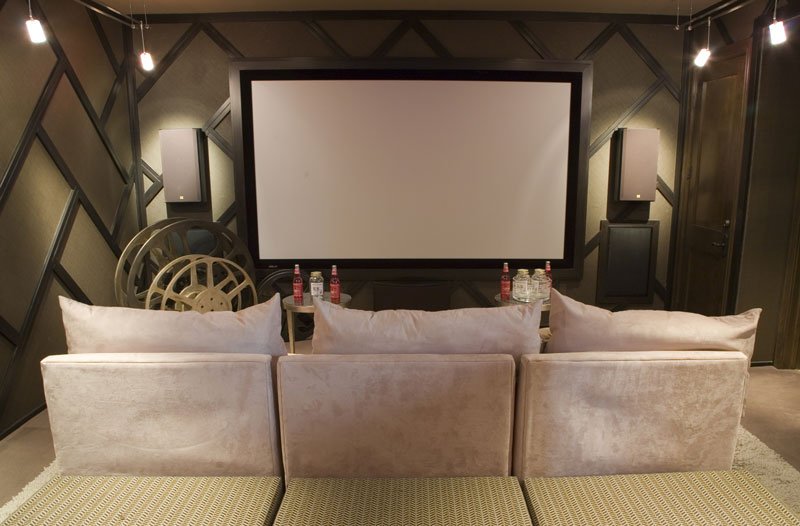
Fixed frame projector screens are installed directly onto the wall of the room. This creates a permanent tension and a perfectly flat viewing surface. This is a common choice for most home theaters which are strictly for watching films through a projector. It must also be placed over a solid wall that does not have any windows or vents which could compromise the tautness of the projector screen.
Portable
A portable projector screen can be easily moved around and is best for non-permanent viewing situations. These are commonly used in classrooms or in business meetings where there is no space for a fixed screen. They can even be used outside!
If you want to create a home theater in a multi-purpose room and need to move the screen from time to time, a portable projector screen is a great option. However, the image quality may be diminished with a portable screen as it cannot be pulled as tightly and the fabric may wear out or rip easily during transportation.
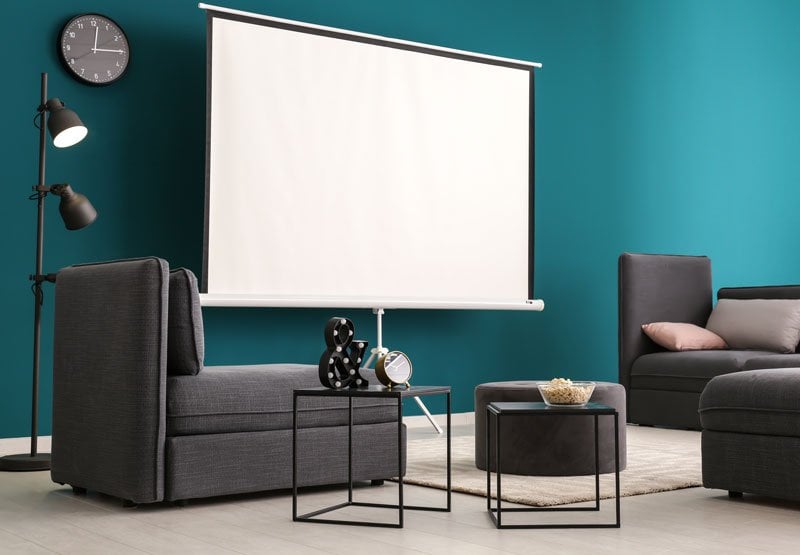
Retractable
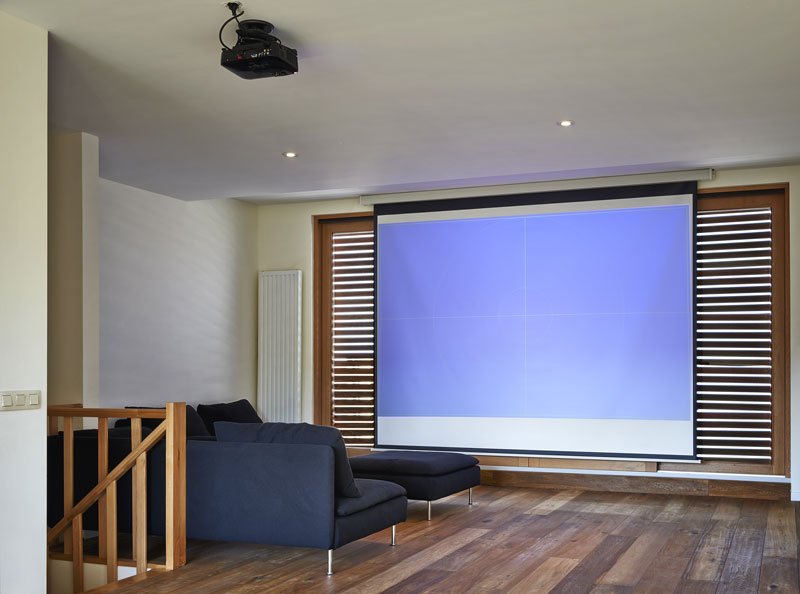
Also known as a semi-fixed or pull-down projector screen, retractable screens are spring-loaded and can be pulled down or rescinded in a similar way as window blinds. Retractable projector screens may be manually powered or motorized.
This projector screen type is great for a home theater that serves multiple purposes where the screen is not always needed. You can even install the projector screen into the ceiling so that it is completely hidden when fully retracted.
Things to Consider when Buying a Home Theater Screen
There are additional factors that you must keep in mind when choosing a home theater projection screen.
Gain of the Fabric
Projector screen gain refers to the amount of light that is reflected back. This is typically written out as a ratio number, such as 1.0 or 1.5. This number represents the lumens that are reflected, so a 1.5 gain will reflect back 1.5 times the number of lumens, making the image brighter.
The gain of a screen projector can also help to improve the quality of the image if your projector is not extremely powerful. So, if you have purchased a cheaper projector or the one you have is fairly outdated, you can go with a high gain screen to help increase the brightness for a better image quality.
If your home theater does not have a lot of natural or ambient light, you will want to purchase a higher gain screen fabric. This will help to create a more vibrant reflection. However, it is important not to choose too high of a gain, as this can create “hot spots” on the screen. This occurs when the center of the image is brighter than the edges and can impact the vibrancy of reds, blues, and greens.
A lower gain projector screen can bring out a higher contrast ratio for a darker image. This is best used for spaces with lots of ambient light as it will help to diminish reflections.
Viewing Angle of Your Theater
You should also consider the seating distance from the projector screen and the viewing angles of your theater. If your chairs are centered to the screen, the viewing angle is rather narrow. In this case, a high-gain fabric is the best choice as this will have the majority of the light concentrated towards the middle of the screen.
If your home theater chairs are spread out, a lower-gain fabric is best as this will help to disperse the light more evenly throughout the screen.
Projector Specifications and Positions
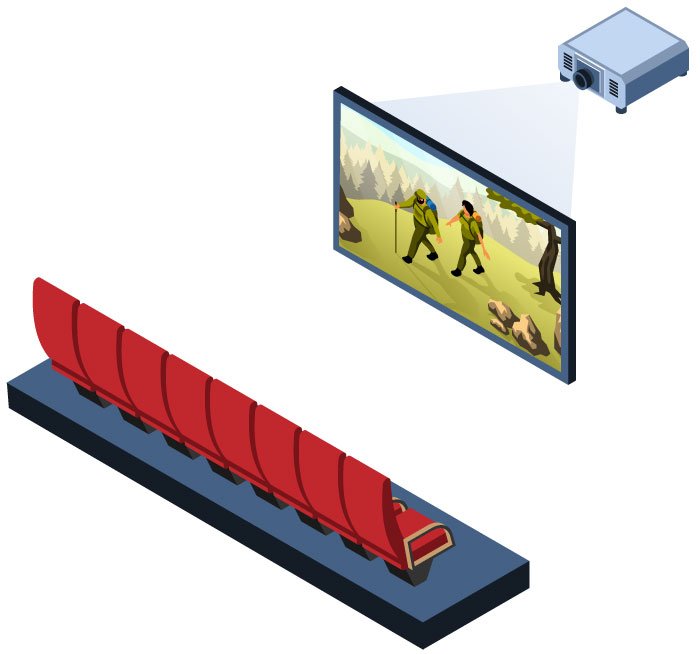
The positioning of your projector can also be a determining factor when choosing a screen. There are two types of projection positions: rear and front projection.
If the projector is placed behind the screen, then this is known as rear projection. In this case, you would need to purchase a screen that is specifically made for rear projection from specialized material – which optimize the image and color brightness. These screen types have to block out ambient light so the image is clear.
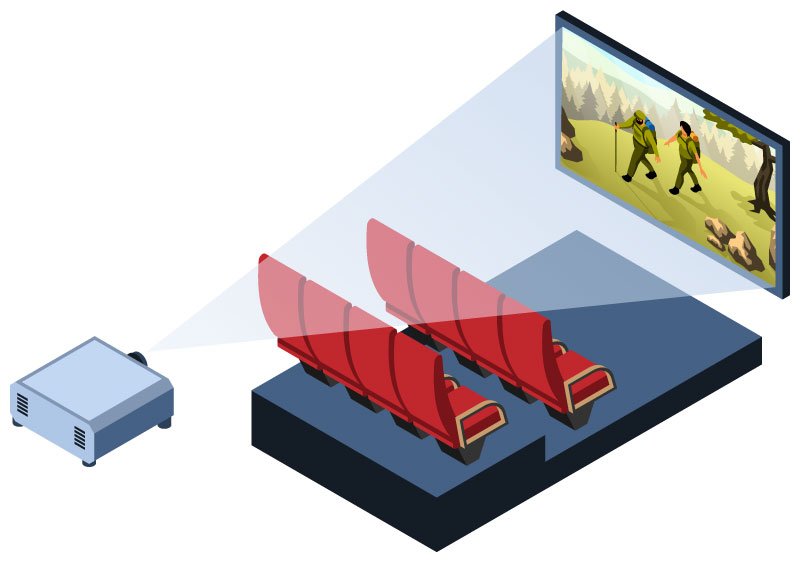
Rear projection is rather uncommon in home theaters because it requires there to be space behind the screen. Therefore, most home theaters will have a front screen projection where the projector is placed in the same direction as the audience.
In this case, you will want to choose a home theater screen that is highly reflective to maximize the amount of light reflected to the audience. This will help to create a clearer, brighter image.
Mounting Style
You will also need to consider your home theater projector mounting options. Home theater screens may be mounted on to or next to a wall, attached from the ceiling or even from the floor. It is important to keep in mind what type of material is directly behind the screen. There must be something to block the light so that it can be reflected back to the audience.
Screen Size
Home theater projector screen size matters, too. Of course, you will want to choose a size that fits within your room without taking up too much space. You will also need to consider the distance between the screen and the projector. The further the projector is from the screen, the larger the image will become – and therefore, you will need to get a larger screen to capture the projection.
So, if you are wondering how to measure projection screen sizes, it is best to use a home theater screen size calculator. There are several different calculation methods that you can look into.
You can enter in various dimensions of screens that are available in order to determine the overall viewable area or viewing distance to see which size will fit in your home theater. You can also select your projector and enter in the throw distance (distance between the screen and projector) to calculate the screen size that you will need.
Wall Size
If your home projector screen is placed directly on or nearby a wall, you must take that wall space into account. The projector screen must be kept in alignment with the solid wall area – it should not cover any areas where ambient light will seep through, such as a window.
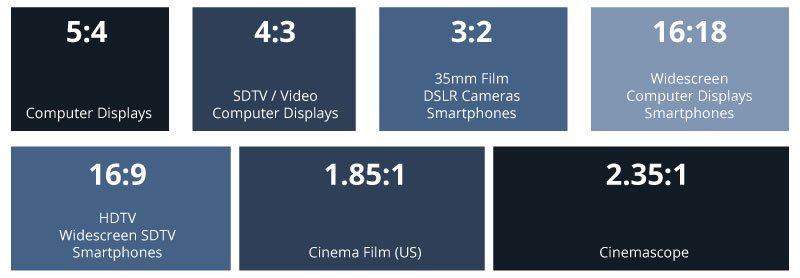
Aspect Ratio
The aspect ratio is the proportion of the width and height of the screen. The most common types are 4:3, 16:10, and 16:9.
16:9 projector screens are the most common type for home theaters as they are optimized for widescreen viewing, which is often used in films. 16:10 is slightly taller on the sides and it is most commonly used for PC projection in classrooms or businesses. A 4:3 projector screen is similar to the ratio used on more televisions, so this could be an option if you will be watching TV shows in your home theater more often than movies.
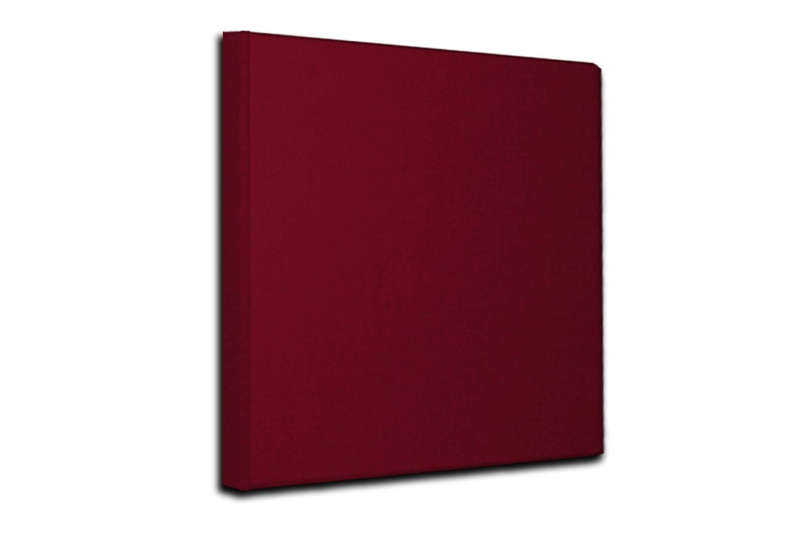
Color
Did you know that not all screen projectors are white? Some are made in a light grey color as well as various shades of white, like cream or bright. The color of the screen can have an effect on the vibrancy of the images by highlighting light and shadows.
Grey screens tend to create a higher color-contrast. They are best used in rooms with some ambient light as it reduces reflections. However, white-colored screens are best in rooms that are completely dark – such as a home theater with no windows.
Screen Material
Next, you must choose which home theater screen material you want. Projector screens can be made of canvas, plastic, or rubber, along with a material known as WraithVeil on the backside. WraithVeil helps to block light from seeping through so that the images projected onto the screen are vibrant.
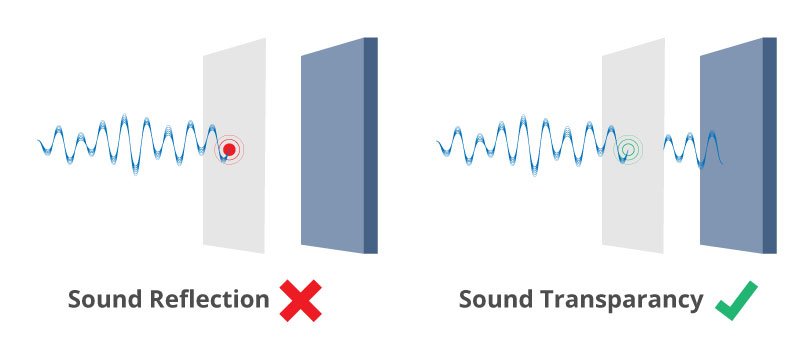
Acoustic Transparency
Finally, you must consider the acoustic transparency of the material of the projector screen. If you have acoustic panels placed in your home theater, you should choose a screen which allows the sound to travel through and be absorbed by the panels for the best sound quality.
How to Set-Up a Projector Screen
It is extremely important that you mount your projection screen correctly to enhance your viewing experience. If the screen is a bit crooked or is not securely fastened, it could affect the quality of the projection.
First, you need to determine the best positioning within the room. Again, you want it to be away from any reflections or ambient light, so it is best to avoid placing it directly across from windows and doors. It should also be positioned for an optimized viewing angle so that the highest number of people can see the images when seated.
You can test this by turning on your projector and moving it around the room until you find a spot where you can fit the image on an area where the screen can be placed. Then, tape off this area so you know where to install the projector screen.
If you choose to install a retractable or permanent fixture projector screen, you will need to drill holes for the bracket connection. It is best to connect it to a wall stud for a secure hold, as some larger projection screens can be fairly heavy.
If there is no stud, you will need to attach a 2X4 to the wall perpendicular to the floor to attach the screen projector to.

How to Clean a Projector Screen
Over time, your home theater projector screen may get a bit dirty from dust, pet hair, and other pollutants. Some screen materials will even show fingerprints or smudges quite easily. You will want to clean the screen regularly so it does not affect the color or clarity of the projections.
First and foremost, check with the user’s manual for your projector screen to ensure that you can clean it with water or certain cleaning products. Some materials may not be suitable for this type of cleaning or require specific chemicals.
If there are no specifications or warnings, then you can clean it using this method:
- First, brush off the screen lightly with a soft brush or microfiber cloth to remove dust particles.
- Then spray the screen with short bursts of compressed air to loosen the dust.
- Mix warm distilled water with just a few drops of dish soap to create a lightly sudsy solution. You can also use all-purpose cleaners that do not contain any harsh cleaning chemicals like bleach.
- Dip a microfiber cloth into the soapy water and wring out the excess until the cloth is slightly damp. If you are using an all-purpose cleaner, spray it onto the cloth until it is damp.
- Lightly rub down the screen going horizontally in one direction.
- Dry off the screen immediately with another microfiber or cotton cloth.
If there are any residual marks which are not removed with soapy water, then use a Q-tip or cotton ball that is soaked in isopropyl alcohol to clean. Be sure to not use too much pressure, as you could accidently rip the screen.
Conclusion
Having a home theater is a dream for many people – but you can make it a reality with a projector, screen, and a few comfortable chairs. We sure hope this projector screen guide has been helpful so you know exactly what size, type, and material projector screen to get for your home theater!
If you want to further elevate your home theater, take a look at the wide range of theater-quality seating options available from Octane Seating. We carry a wide variety of styles and colors that are made to fit any style of décor – and any budget. Get in touch today to learn more!