A Complete Guide to ALL TYPES OF
WOOD
FINISHES
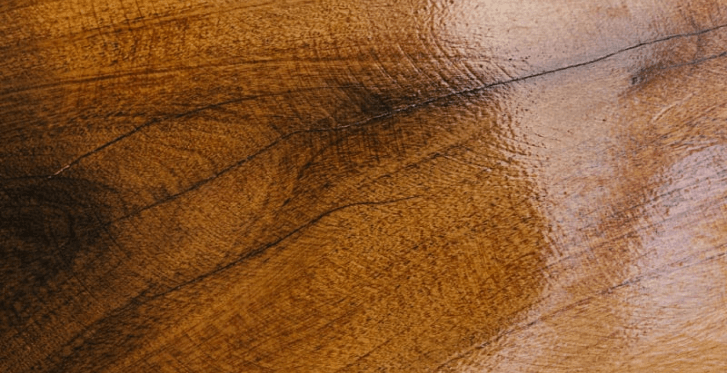
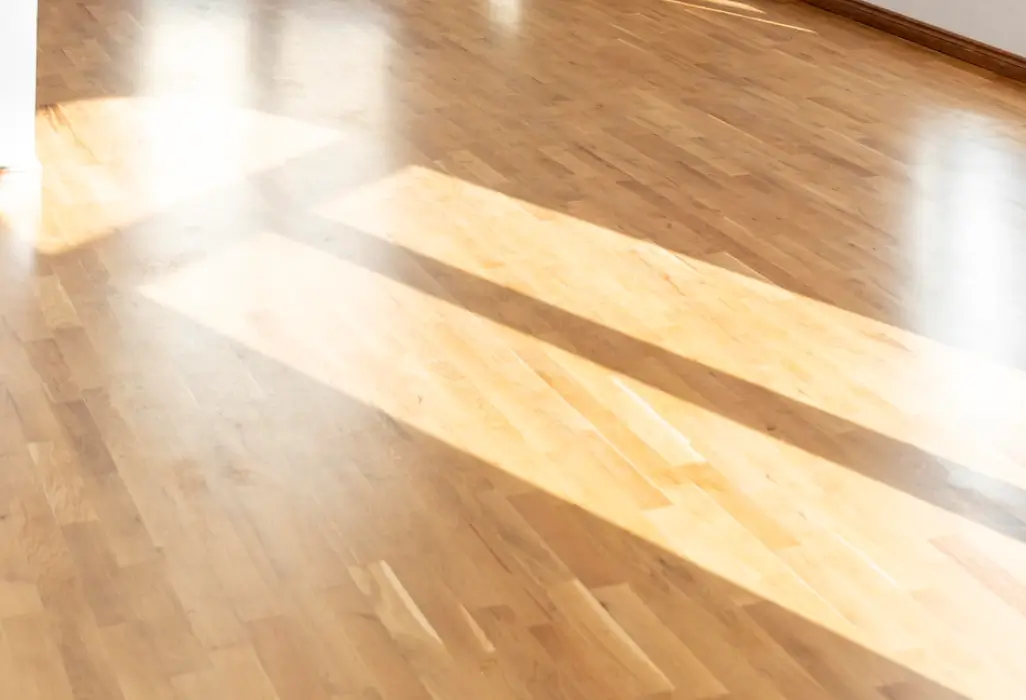
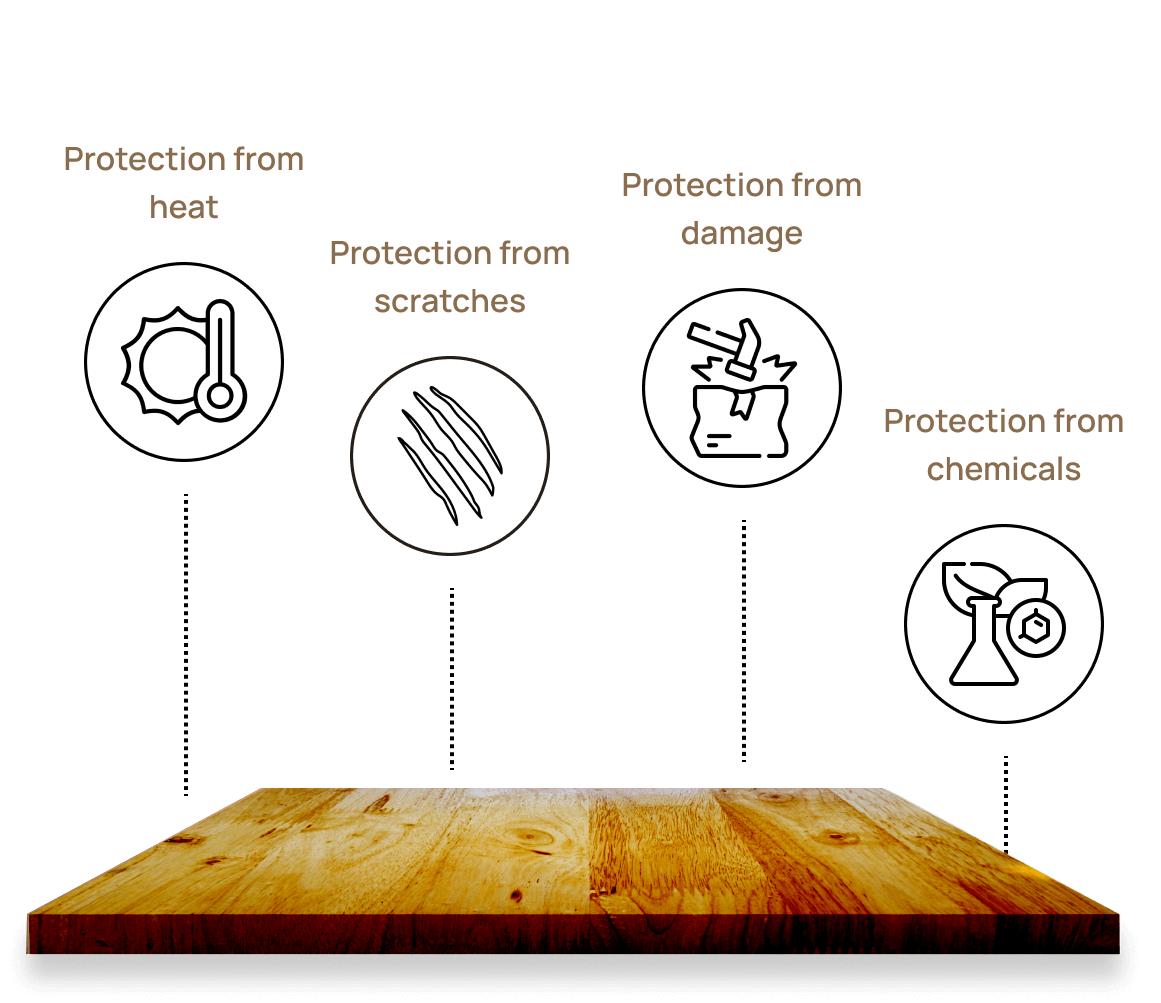
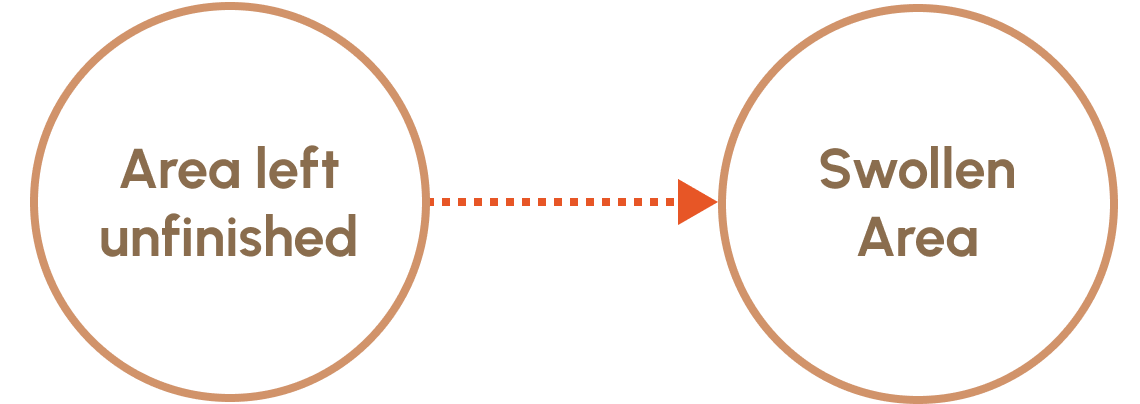
Wood furniture finishes, or simply wood finishes, is a process developed to protect wooden artifacts and furniture from environmental damage. Without the right finish, the wood may crack, dry, swell (exposure to moisture), and deteriorate. However, although the primary goal of each type of wood finish is to add a protective layer, it can also help improve the aesthetic appeal of the wood.
Without the right finish, the wood may
crack dry swell deteriorate
Be it an old or a new wooden piece, finishing is always required or recommended by the experts. That’s why adding a wood finish is one of the most critical processes. However, it usually adds to a large chunk of wood furniture cost.
In this guide, we will take you through different types of wood finishes, the factors involved in choosing a finish, different finishing processes, and all other relevant facts.

Protection from environmental damage
Preservation of old wooden pieces
Enhanced aesthetic appeal

Long-term cost savings

Types of
Wood
Finishes
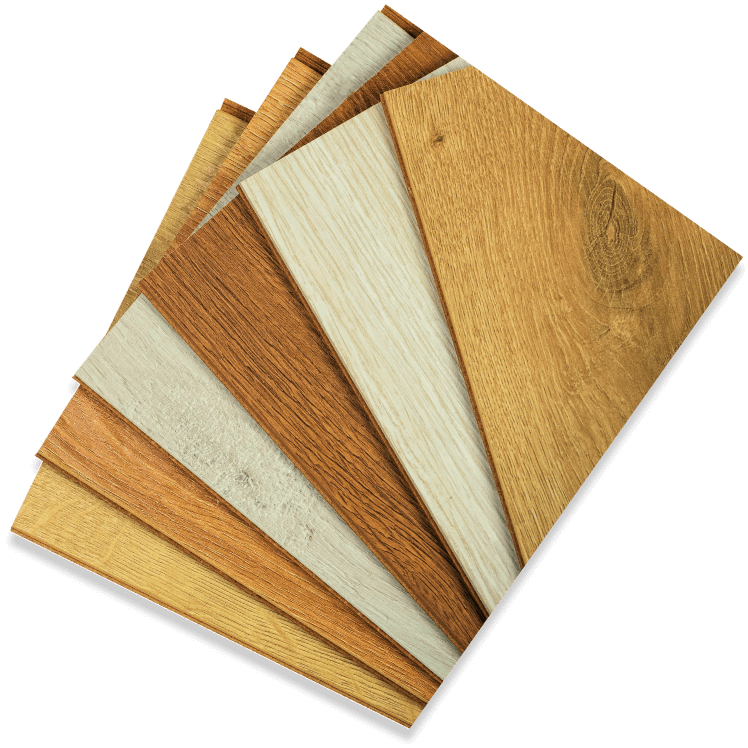
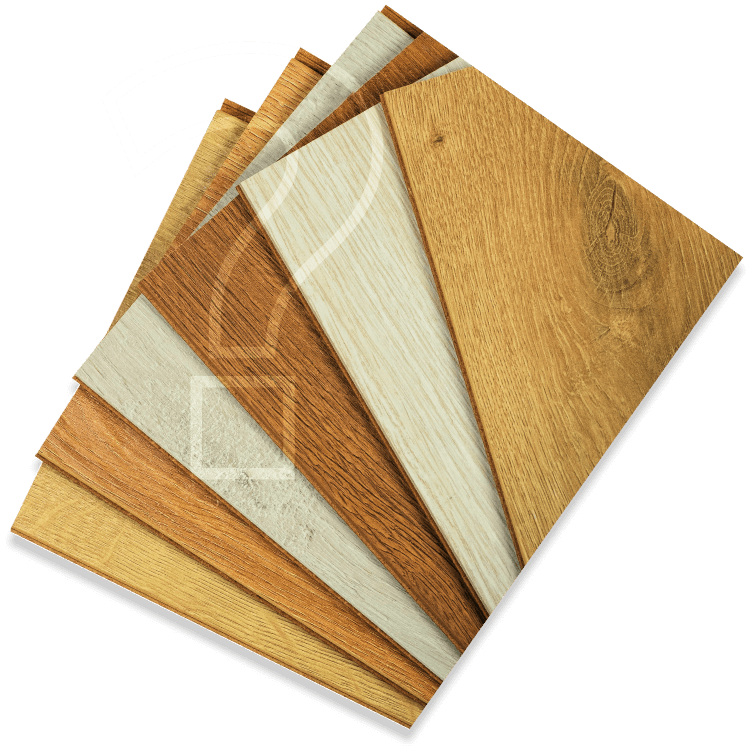
Usually, there are two primary types of wood finish, including penetrating and surface finish. Each type results in a unique appearance and protection, making it necessary to choose the right type of finish.
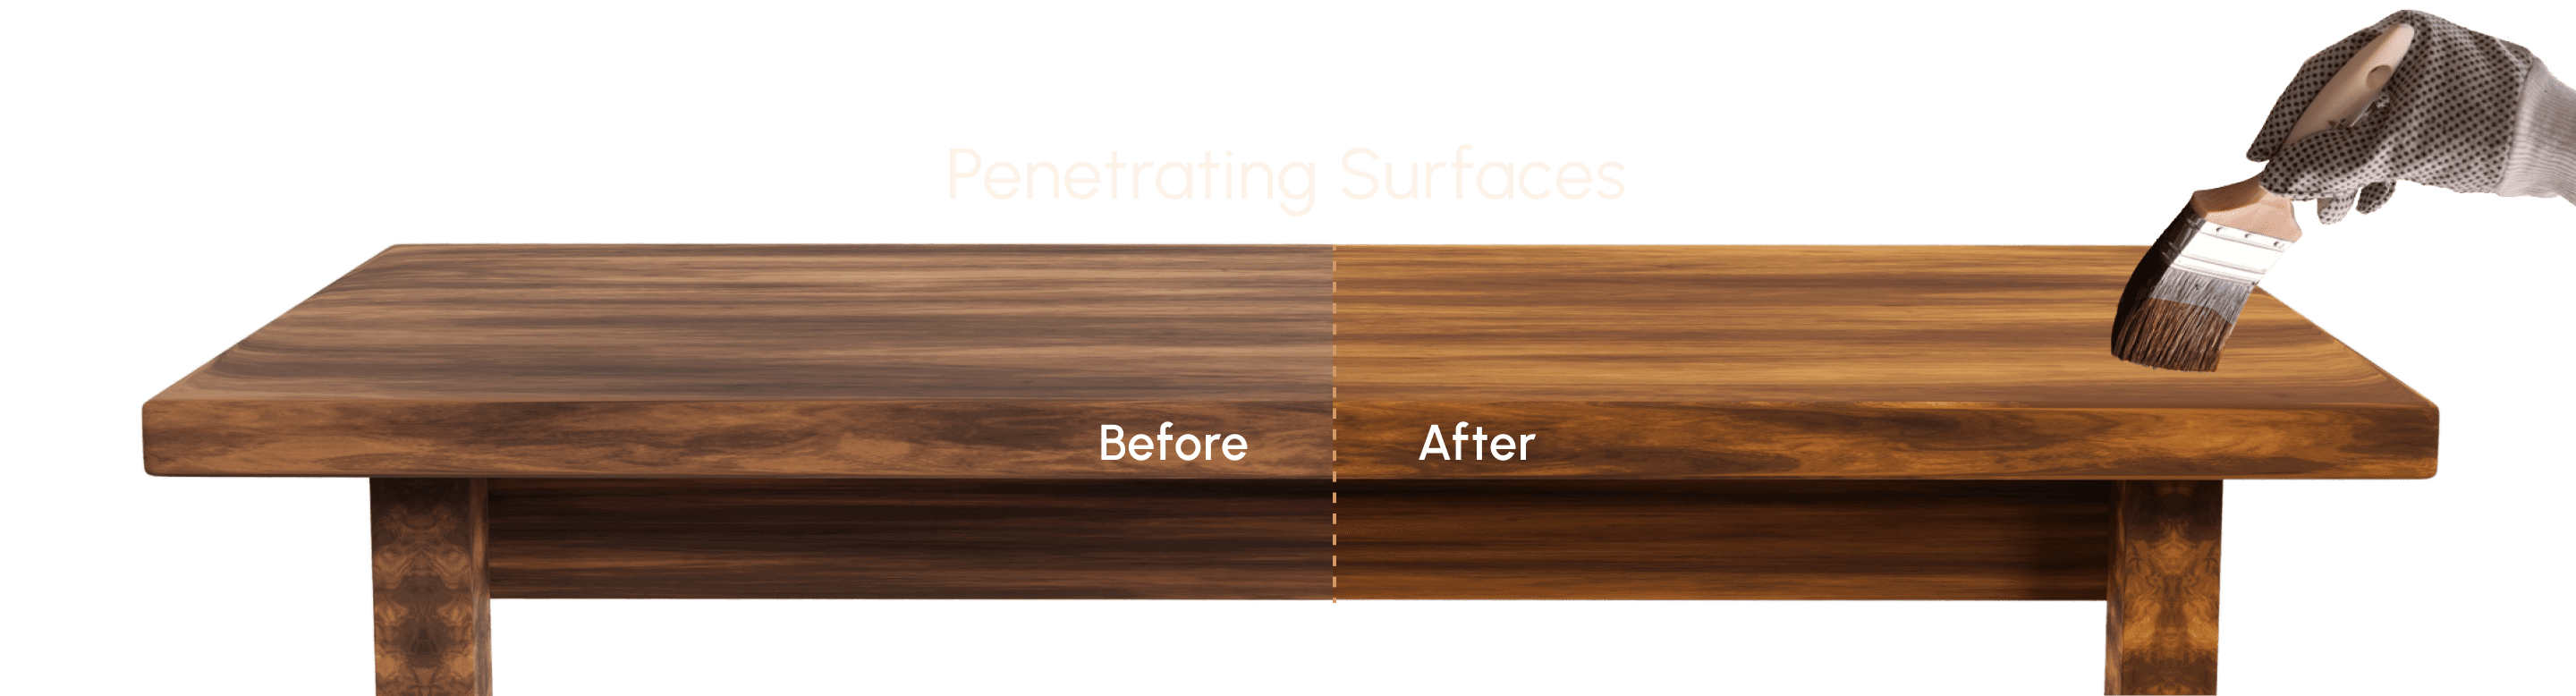
Penetrating Surfaces
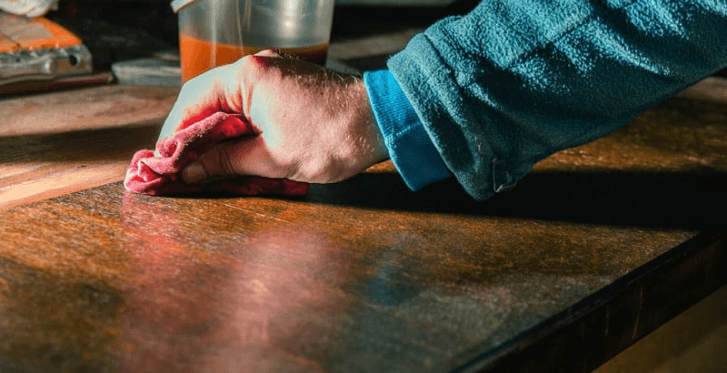
Penetrating wood finishes offer a more natural look as they enter deep into the surface of the wood.

You may have to use a rag to add a protective layer of wood oils to ensure better sheen and surface penetration. You can apply them easily.
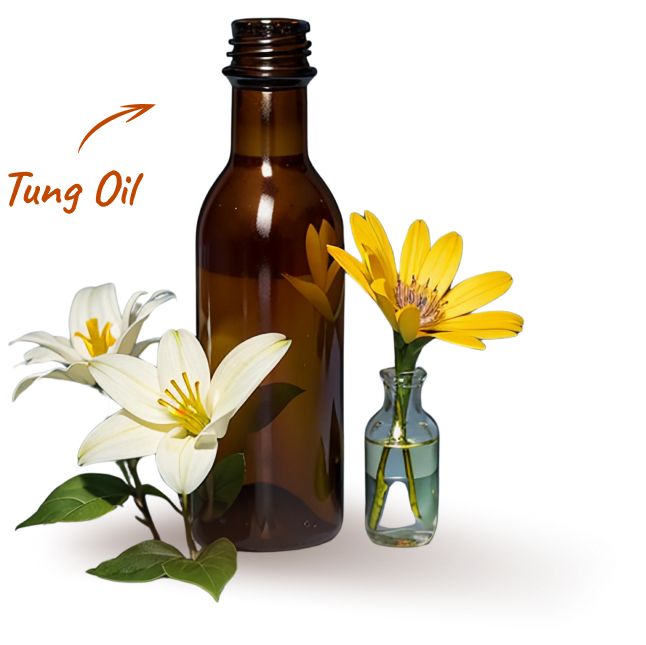
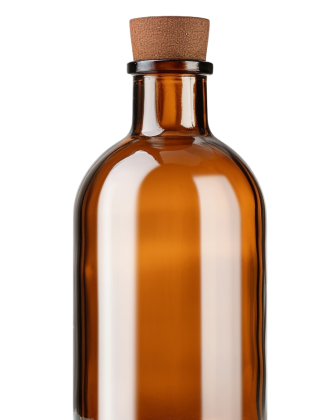
Tung Oil
Obtained from the nut or seed of the tung tree, Tung oil is one of the most common penetrating finishes. It is an environment-friendly wood finish and relatively safe when completely cured.
Appearance
Accentuates the natural appearance and adds a warm glow
Ideal for
Boat decks and floors
Color
Matte or light satin look with slight golden tint
Application Tools
Cloth or brush
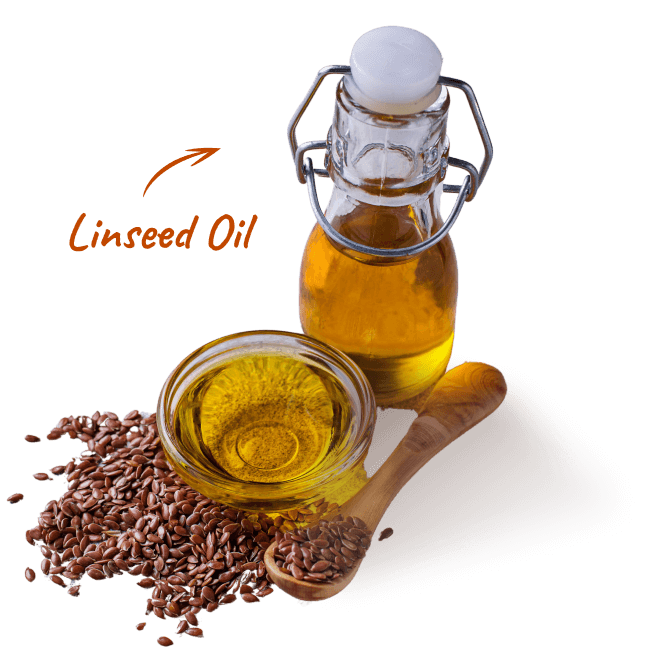
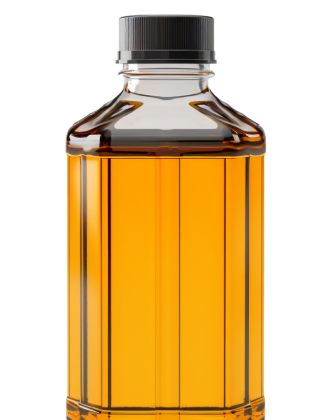
Linseed Oil
Linseed oil, which comes from flax plant seeds, is an easy to apply wood finish, with a brush or cloth. However, curing may take longer. It soaks into the pores, resulting in a shiny appearance.
Appearance
Enhances natural appearance, creates yellow warm glow, and darkens with age
Ideal for
Firearm stocks, cue shafts, surfboards, and cricket bats
Color
Matte
Application Tools
Brush or cloth
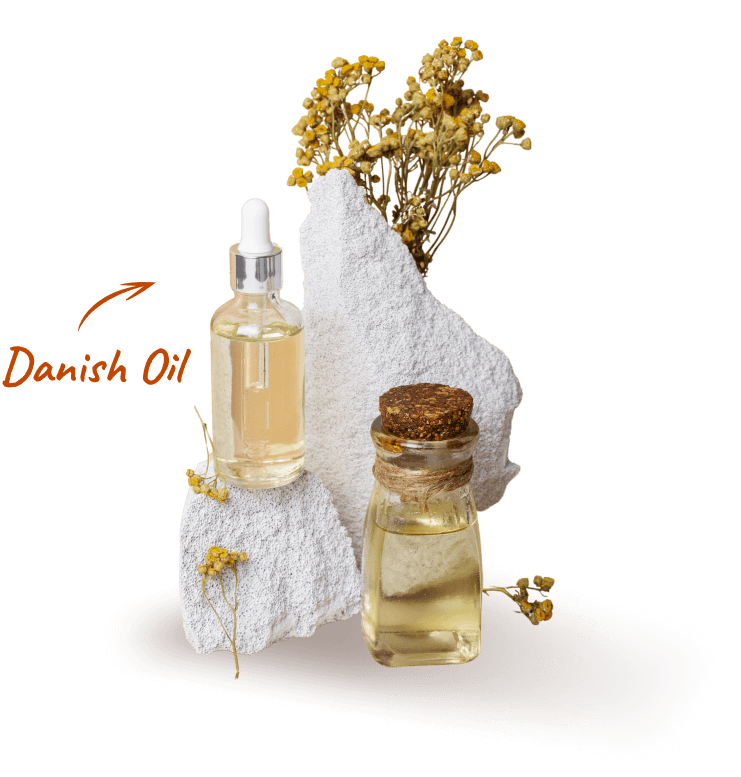
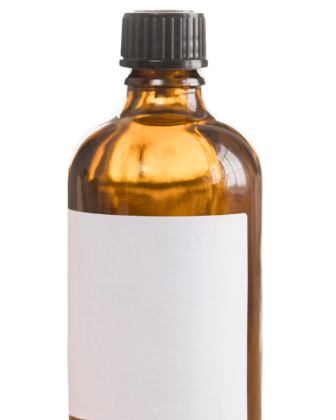
Danish Oil
It is a mixture or oil (usually boiled linseed oil or tung oil), varnish, and thinner. Danish oil offers better surface protection than plain oil wood finishes. It is easy to apply and moderately durable.
Appearance
Enhances natural appearance
Ideal for
Wooden utensils and handles
Color
Buffed to a matte finish or gloss
Application Tools
Cloth or brush
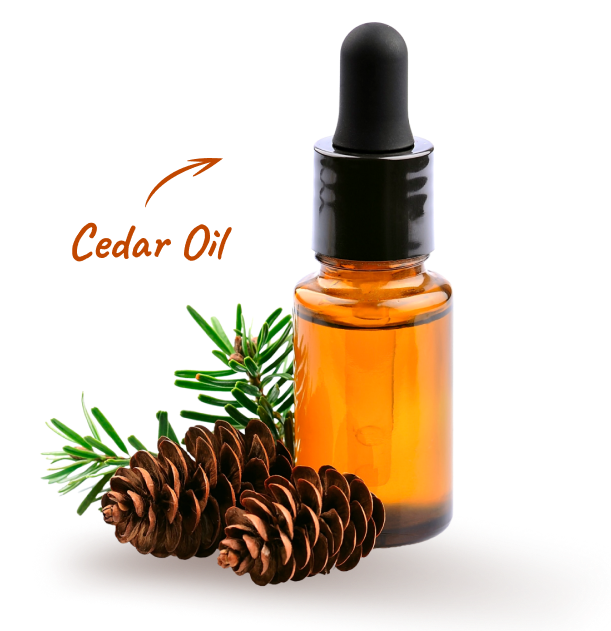
Cedar Oil
Popularly known as cedarwood oil, this wood finish has a characteristic woody odor. It can increase the lifespan of the furniture as it has a natural resistance to insects, disease, and rot resulting from exposure to moisture or water.
Appearance
Warm, hand-rubbed, and natural
Ideal for
Floor polishing and furniture
Color
Light silvery-grey when fully weathered
Application Tools
Brush
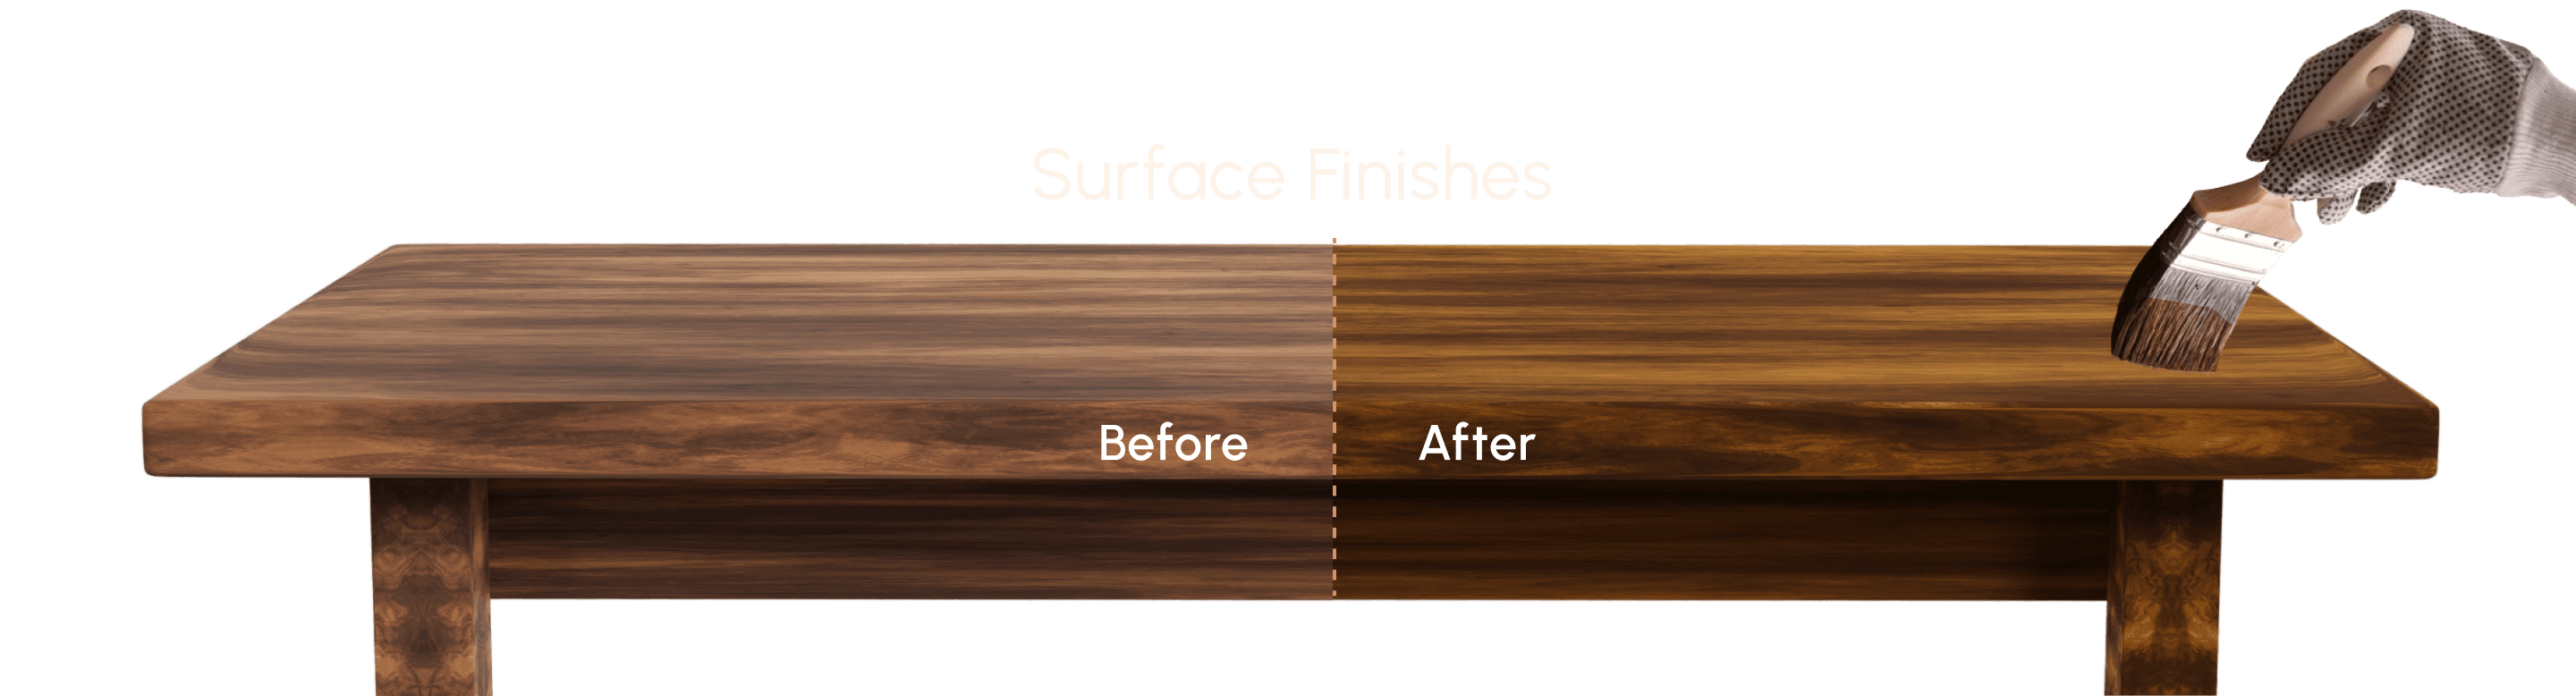
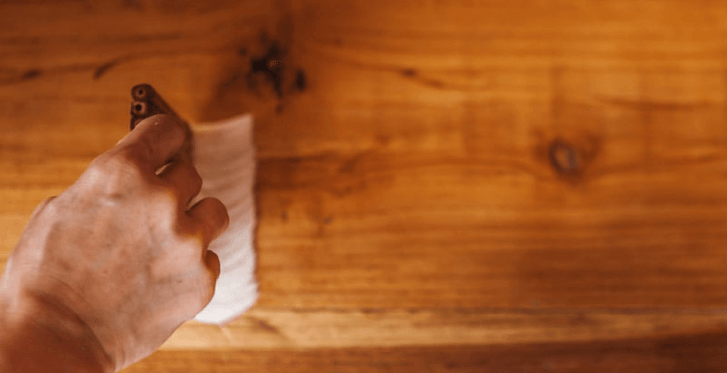
Surface Finishes
As the name suggests, surface finishes are applied on the top of the wood to create a protective layer. This type of wood finish makes an excellent choice for furniture and materials that are exposed to a lot of wear and tear.
Shellac
Shellac wood finish looks very attractive on wooden objects made from walnut, fine veneer, and mahogany. However, it is not durable and dissolves in water and solvents like alcohol.
Appearance
A fine, mellow finish that accentuates the natural grain of the wood
Ideal for
Outdoor furniture and artifacts
Color
Super blonde to rich orange
Application Tools
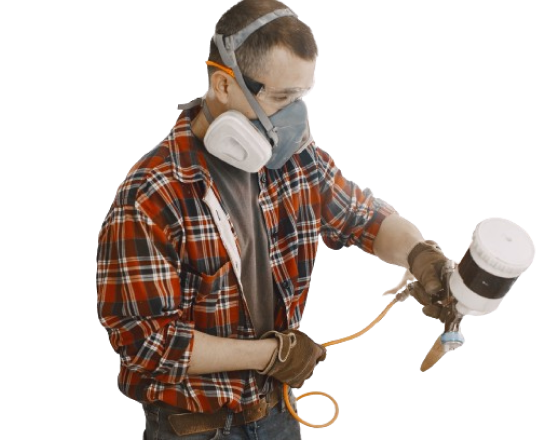
Requires clog spray equipment as brushing can be difficult, but you can use or badger hairbrush

Lacquer
Lacquer is a combination of different shiny wood finishes. For example, you can find lacquer wood finish based on shellac, nitrocellulose, and urushiol, among others. Usually, the drying process involves solvent evaporation, resulting in a hard and durable finish.
Appearance
Dull, medium and high-gloss
Ideal for
Wooden furniture like cabinets, doors, and shelves
Color
Transparent and satin gloss
Application Tools
Sprayed on and natural bristle brush
Varnish
It is a clear and transparent wood finish that usually comprises drying oil, resin, and thinner or solvent. You can find a variety of varnish wood finishes based on lacquer, alkyd, polyurethane, and acrylic, shellac, and resins, among others.
Appearance
Glossy and high-glossy
Ideal for
Floors, cabinets, and furniture
Color
Little-to-no color or pigments. However, some of them can produce a yellowish or an orange tint.
Application Tools
Often requires spray equipment, you can also roll or spray it. However, brushing needs skills.
Wax
Usually, it is primarily carnauba. However, you can find wax finishes with almost any type of wax nowadays. Wax furniture finish is easy to apply and offers abrasion resistance. But it is not durable and requires frequent reapplication.
Appearance
Dull. Buffing is needed for sheen.
Ideal for
Flooring and furniture
Color
Matte to satin
Application Tools
Cloth or brush or even spray
Polyurethane
Polyurethane wood finish is durable and water-resistant, thus offering excellent protection. It can offer a warm and amber tone to the wood. However, it can be difficult to repair damage to it.
Appearance
Enhances natural appearance
Ideal for
Cabinets, doors, furniture, and floors
Color
Satin and moderate-to-high-gloss
Application Tools
Natural bristle brush
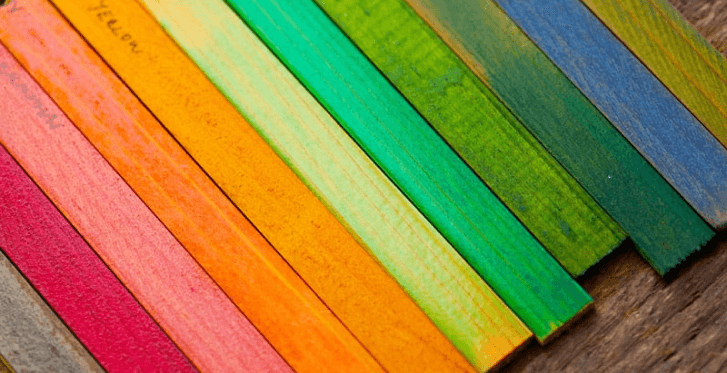
Dye
If you know how to dye wood, you probably also know that wood dyes are usually powders that you can mix with water or alcohol. The small dye particles penetrate deep into the wooden surface, so you don’t need to use a binder.
Appearance
Enhanced natural appearance
Ideal for
Suited for furniture made from dense and figured woods
Color
Deep and vibrant colors
Application Tools
Brush
Stain
Stains consist of a pigment, carrier, and binder. The carrier helps insert the pigment into the surface and binder makes it stick. As they bring out the grain pattern, stain wood furniture often, particularly made from oak and ash, looks very attractive.
Appearance
Enhances natural appearance, particularly grain pattern
Ideal for
Indoor and outdoor furniture
Color
Wide variety of colors, primarily blues and greens.
Application Tools
Brush or chemical staining
French Polish
French polishing is a wood finishing process that usually involves applying shellac. You can use it to create an extraordinarily glossy finish with a rich depth that enhances the grain pattern. It is durable. However, it is also a labor-intensive process.
Appearance
Very high-gloss
Ideal for
Furniture, musical instruments, and decorative woodwork
Color
Deep and vibrant
Application Tools
Fabric dabber
Water-Based Finish
Water-based wood finishes dry quickly. However, you can’t clean up water-based wood finishes with water. Water plays a supporting role in the finishing process. This finish can provide adequate protection.
Appearance
Natural sheen
Ideal for
Decorative furniture and woodwork and hardwood floors
Color
Milky look
Application Tools
Synthetic brushes
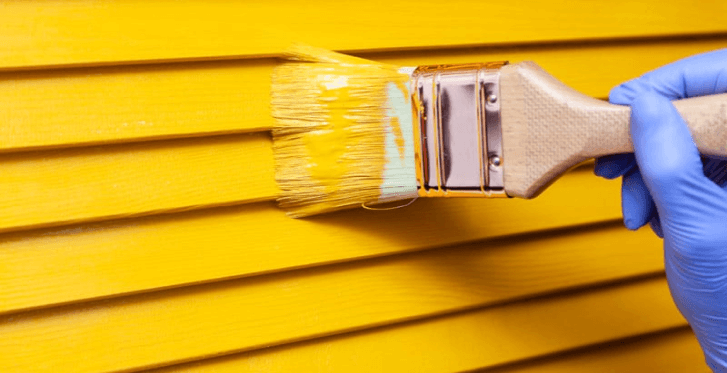
Paint
You can easily apply wood paint finishes. You can find furniture paint finishes in a wider range of colors and finishing combinations. Finishing quality ranges from glossy to high-glossy.
Appearance
Shiny and glossy
Ideal for
Wooden paneling, walls, doors, and furniture
Color
A wide range of colors
Application Tools
Brush or roller or spraying

Factors to Consider When
CHOOSING A Wood Finish
Considering the sheer variety of wood finishes, it can be a daunting task to choose the right one. So, you will need to consider a few different factors when choosing a wood finish. Here’s a list of what you should take into account.

PROJECT TYPE
The first factor you need to consider is the type of your project. The type of project will involve considering the type of wood and its intended look.
For example, if you are looking for an extremely high-glossy surface, you may want to consider using a wood varnish finish.
Exposure to Sunlight and Humidity
Environmental impact is also an important factor. While some finishes show environmental weaknesses, others offer better resistance. Varnishes, for example, offer excellent protection against ultraviolet light, heat, and even daily wear and tear. They are also good water-resistant wood finishes, making them suitable for outdoor furniture.
SKILL LEVEL
You can apply wood finishes using a brush, a cloth or a spray equipment. You may also need to apply multiple layers and add a binder or stain as well in the process. In other words,
If you are a novice, going with easy-to-apply wood protective finishes is a better idea.
Ease of Use
Again, using a wipe-on and wipe-off protective coating for wood is much easier than choosing a complicated process like French polish.
For example, you can use Danish oil to add protective layer to your wooden furniture with ease.

Color
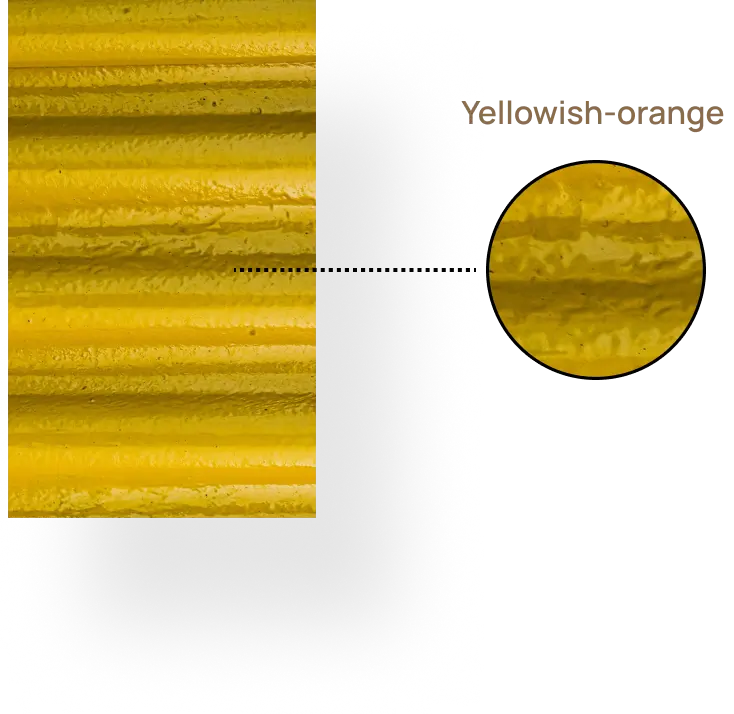
Shellacs and lacquers can render a yellowish or yellowish-orange coloring, especially on dark woods like mahogany. The coloring can darken over time, offering a deep and rich look to your furniture. Most water-based wood finishes, however, keep the natural look of the wood intact. You can choose a finish depending on your desired color effect.
Tools Required
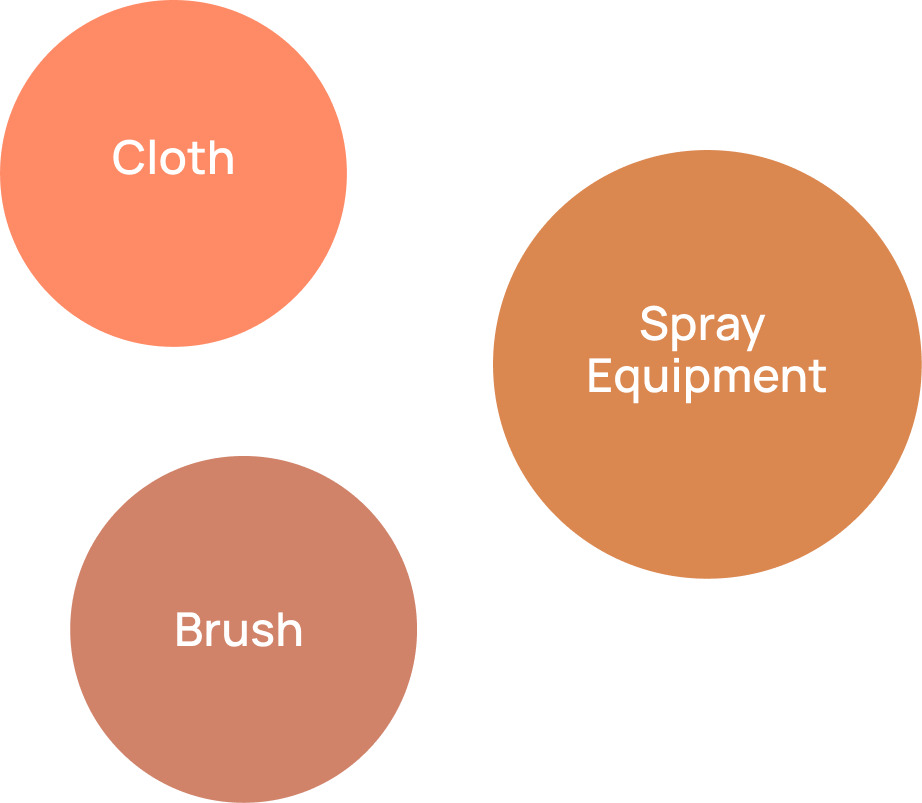
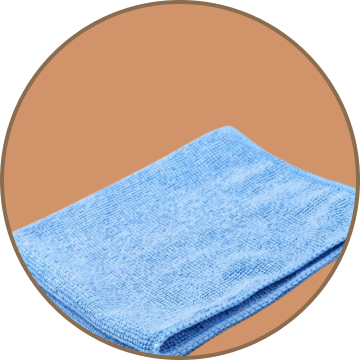
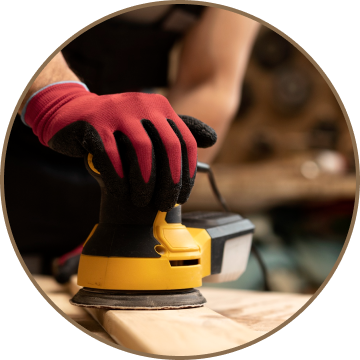
Depending on the wood finishing method you choose, you will need a variety of tools, including thick and thin stripper, sandpaper, power sander, good quality rag cloth, natural bristle brush, and spraying equipment.
Before choosing the method, make sure you have all the tools and you can use them.
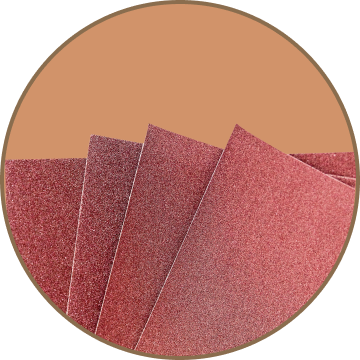
Sandpaper
Cloth
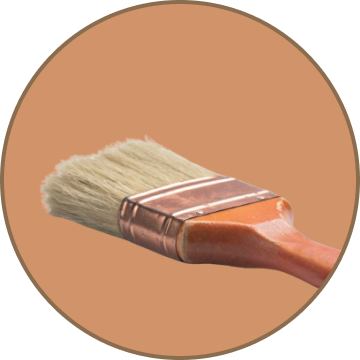
Brush
Power Sander
Durability
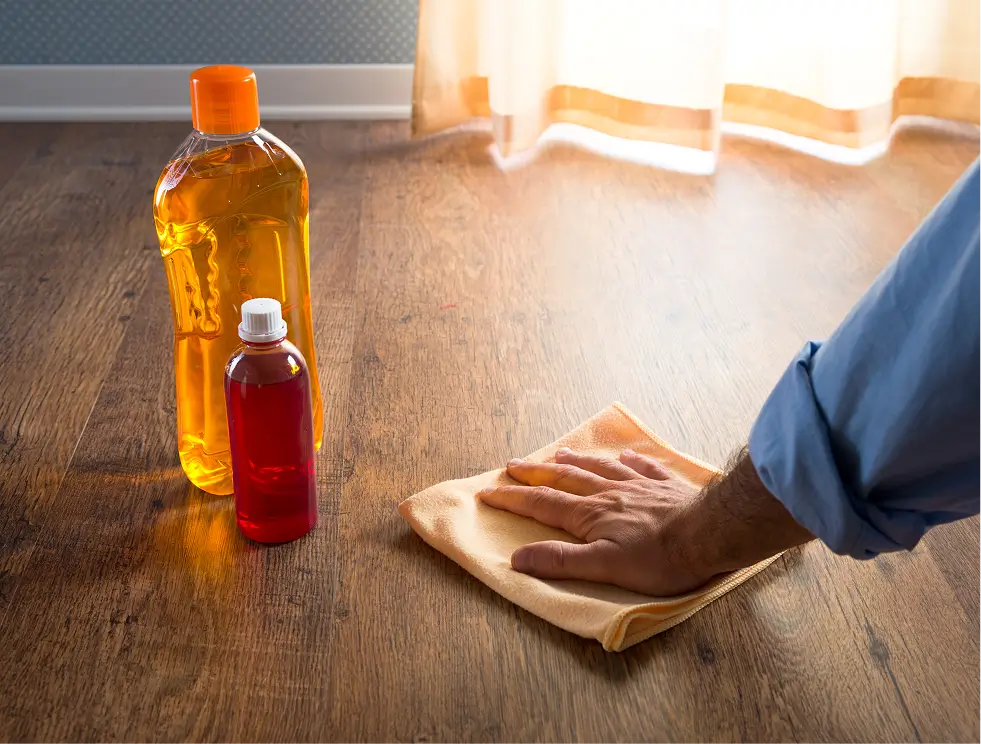
A durable wood finish should not only offer protection from sunlight and heat, but also from physical damage like scratches chemical abrasions, and solvent damage.
Different wood finishes offer different levels of durability.
For example, wax offers excellent resistance against acids and alkali, but it is prone to damage from water, heat, and sunlight. Lacquer, on the other hand, offers overall good durability.
Safety
Wood finishes often have a variety of organic solvents that may be harmful to your health and the environment. Some of them can also be flammable.
Lacquer is one of the most toxic finishes. Oil-based wood finishes are free of solvents. However, after curing, none of the finishes are harmful.

Sustainability
Solvent-based wood finishes also pose a threat to the environment. Varnishes with paint thinners may release toxic fumes.
Oil-based wood finishes come from renewable resources and are the most sustainable option.
Appearance
Varnishes and oils offer a natural-looking wood finish. Varnish, shellac, and lacquer are not easy to apply, but they do offer a deep and rich look. They will also deepen and darken over time.
Varnishes are the best choice for high-gloss surfaces.
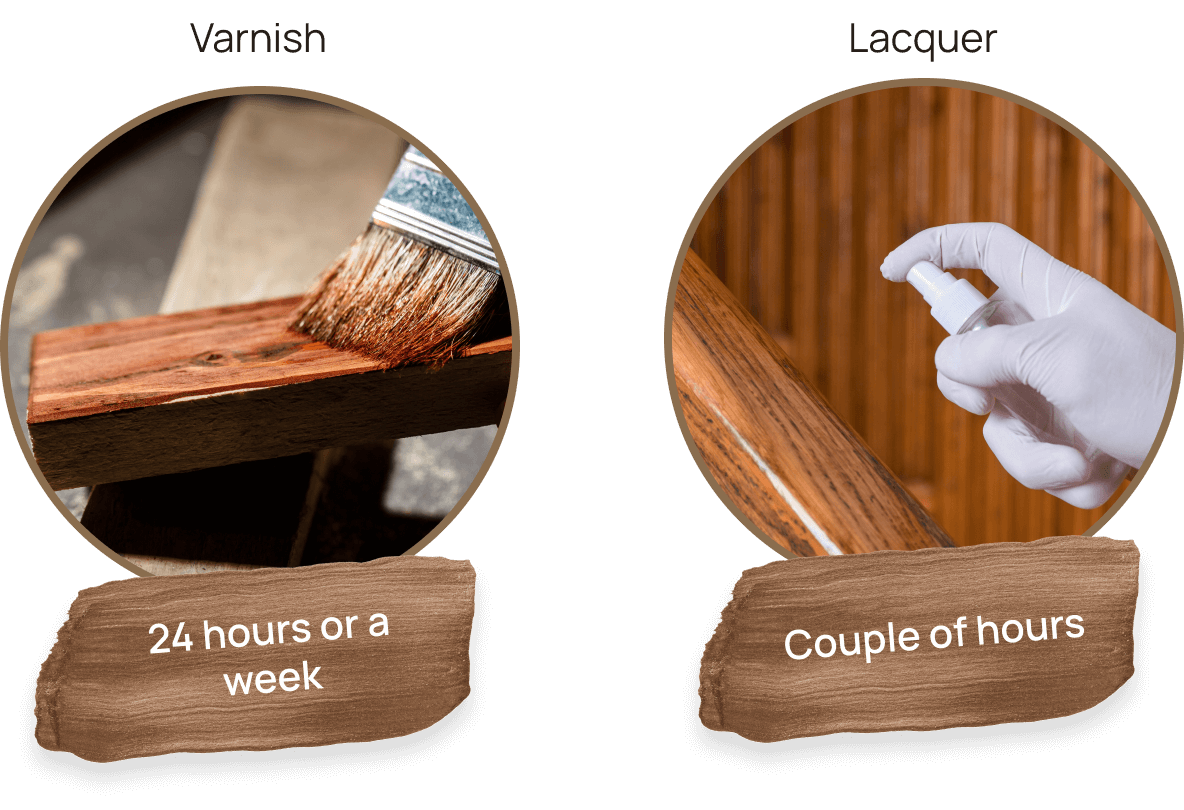
Drying Time
Drying and curing period varies from finish to finish.
Varnishes require a 24-hour drying time and a week at least for curing. Lacquer, on the other hand, dries pretty quickly, say in a couple of hours as the solvents evaporate.

WOOD FINISHING PROCESS
When it comes to any type of wood work, finishing is the last process. It helps you offer the best look to your piece of furniture, hide surface defects, and protect it from environmental damage. You are most likely to apply a finish to fresh wood or an old one with an existing finish.
1. remove existing finish
As you already know, finishes can get damaged over time, requiring you to restore them. When you are working with wood having existing finish, you need to first remove the finish carefully, clean the wood, and finish it again.
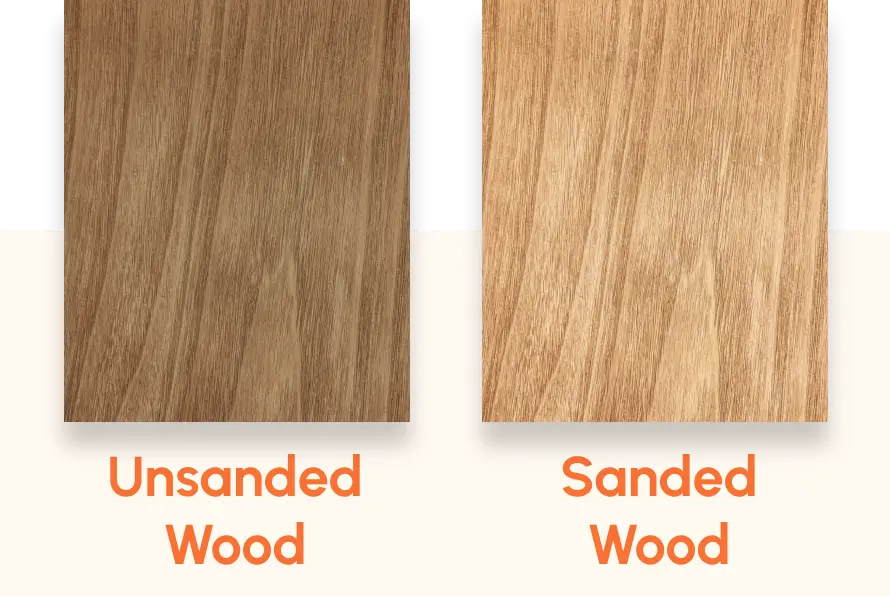
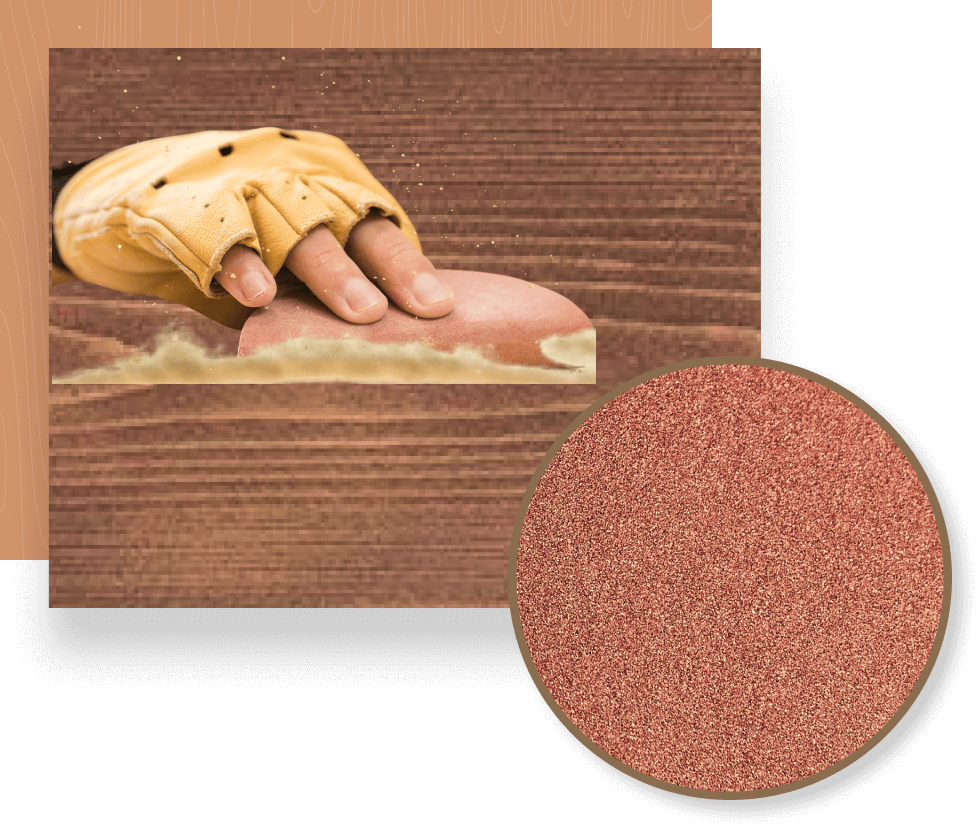
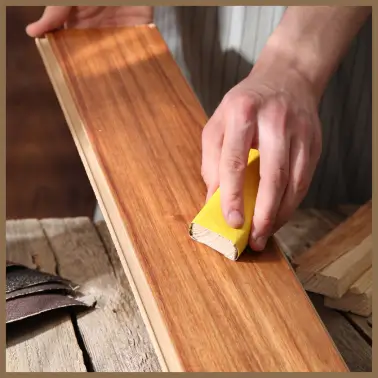
SANDING
Sanding is probably the best way to remove wood finishes like paint, acrylic, varnish, lacquer, and shellac. The easiest way is to power sander. However, a power tool like a random orbit sander is more suited for large and flat surfaces.

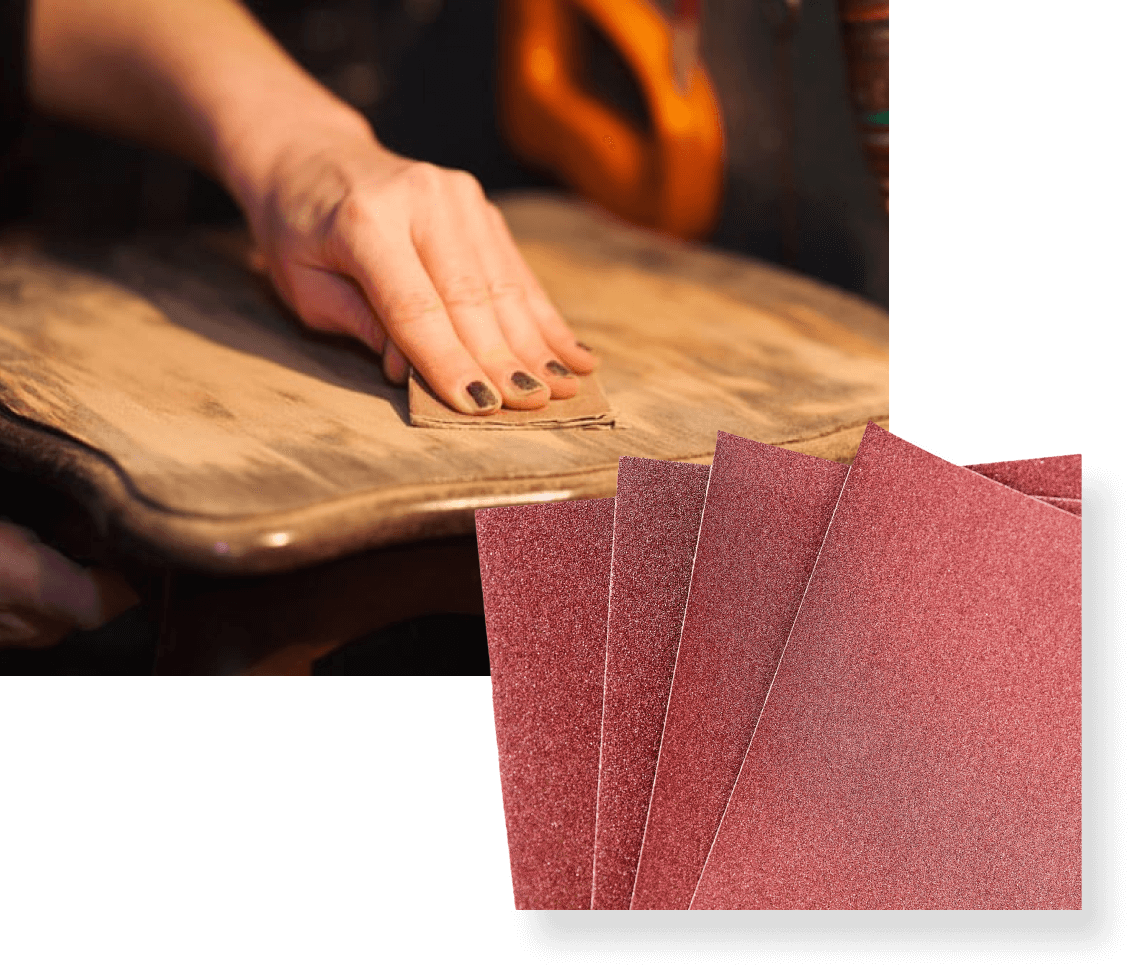
To remove the existing finish from the cervices and smaller surfaces, you need to use a sandpaper, although it is somewhat labor-intensive. Sanding will remove not only the finish, but also the scratches or marks, making the surface smoother and cleaner.
You should use a sandpaper with a grit of about 120 or 150, and you can move your way down to finer grits like 220. Make sure to sand with the grain, not against it. Keep sanding until you see all the traces of finish removed. You can use a wet cloth or a rag to remove the dust.

CHEMICALS
Use chemicals for removing varnish, polyurethane, and paint from wooden furniture or artifacts. Commonly called chemical strippers, you can use them to remove the finish without damaging the wood.
Although these chemicals are a lot safer, they do have methylene chloride, which can be harmful to your eyes, skin, and lungs. So, you will need to take proper safety precautions while working with a chemical stripper. You also need to work in a well-ventilated area. Apply the chemical to the wood surface using a brush. You may need to leave it on for some time.

Use fine steel wool to remove the finish and then clean the wood surface with a clean wet cloth.
Solvents
Solvents are suitable for removing shellac and lacquer as they are alcohol-based finishes. You can use denatured alcohol for removing shellac from wood, while lacquer thinner can help you remove lacquer-based finishes.

You should apply the solvent to the wooden surface with a rag or a cloth, after which you can use a plastic putty knife to scrape off the loosened finish.
However, you will need to be very gentle to avoid damaging the wood. Once you have removed the existing finish, you can take the steps involved in finishing a new piece of wood.
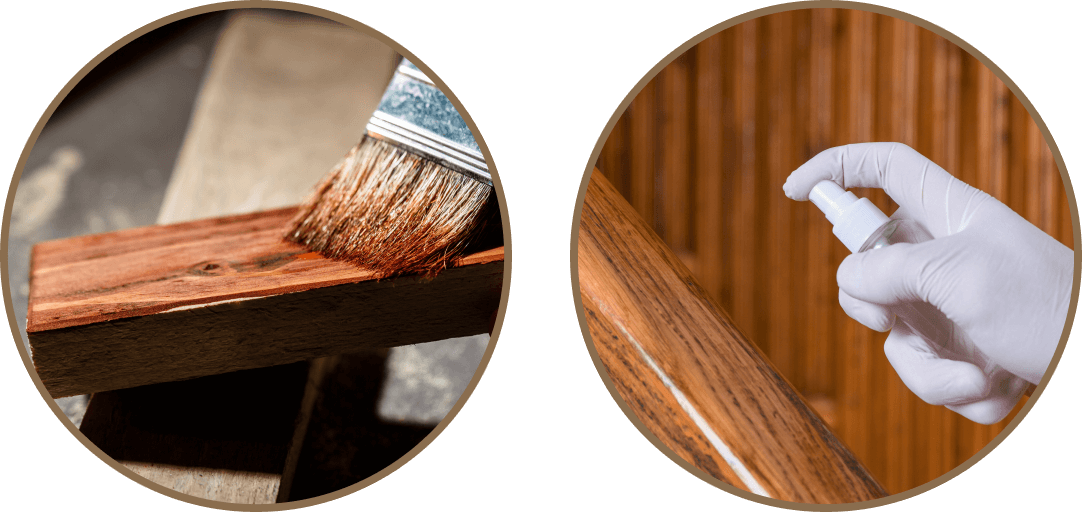
2. Adding a New Finish
Finishing wood involves three steps: sanding, staining, and finishing. Make sure you have completed working on the wooden object before you start the finishing process.
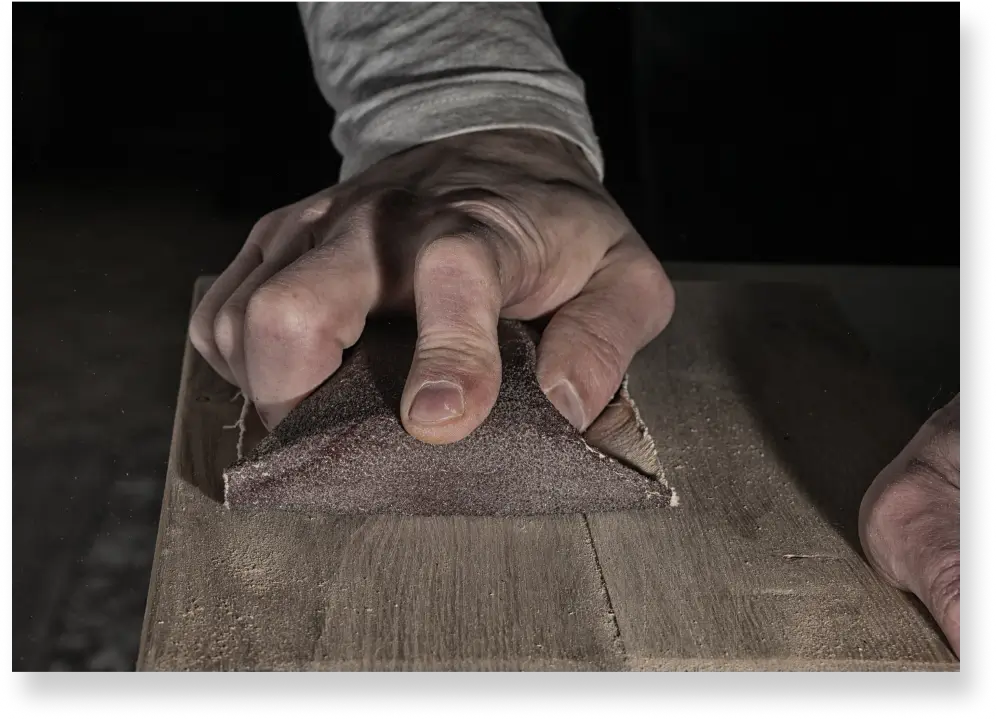
1. SANDING
Sanding is the process of preparing the wood surface for staining and finishing. You should start with a 120-grit sandpaper, especially if the wooden surface has deep scratches and imperfections.

You can use sandpaper with finer grits like 220 after initial sanding. You can also use powered sander for large and flat surfaces like tabletops and floors. Sand with the grain, not against it.
Continue the process until you are satisfied with the result. You can use a paint thinner or high-intensity light to see if there are any blemishes left.
You must, however, remember that some blemishes can’t be removed or trying to sand them will probably worsen the surface. Once finished, you can wipe down the surface with a clean cloth to remove the dust. Tack cloth is the best.
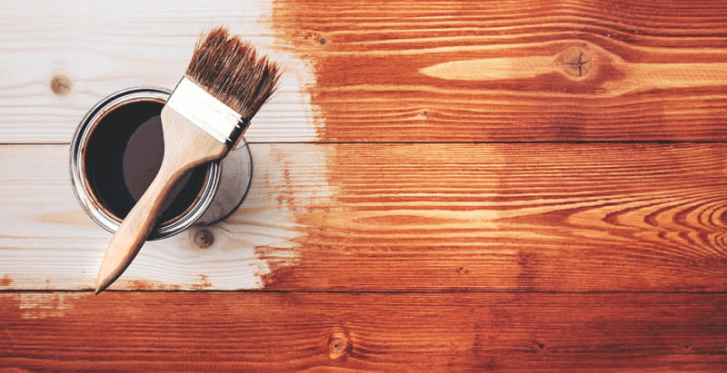
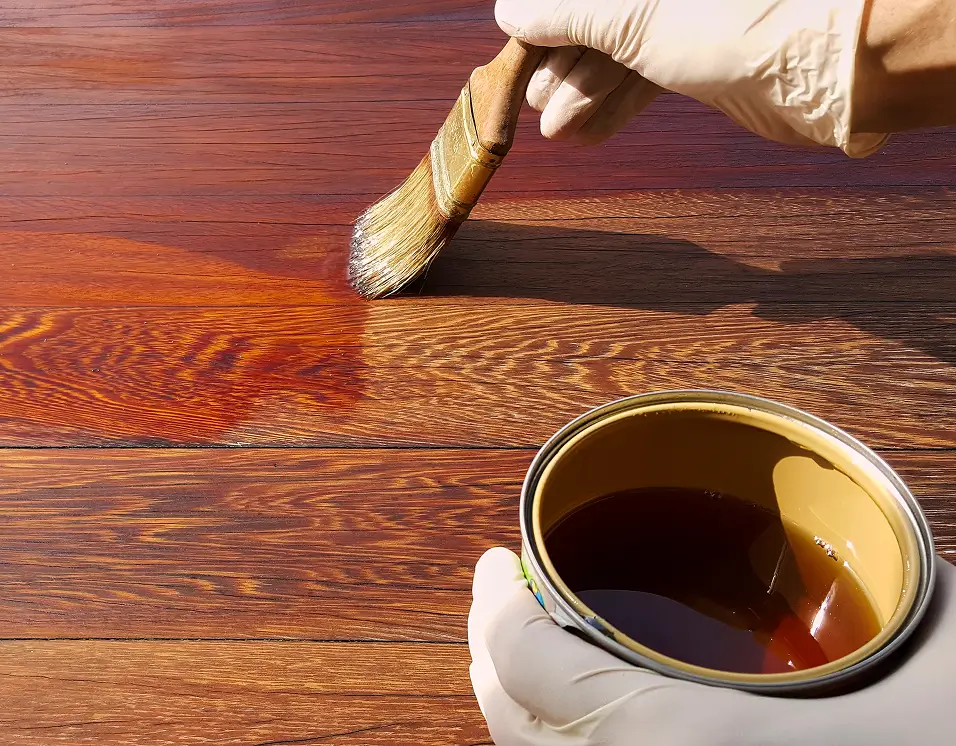
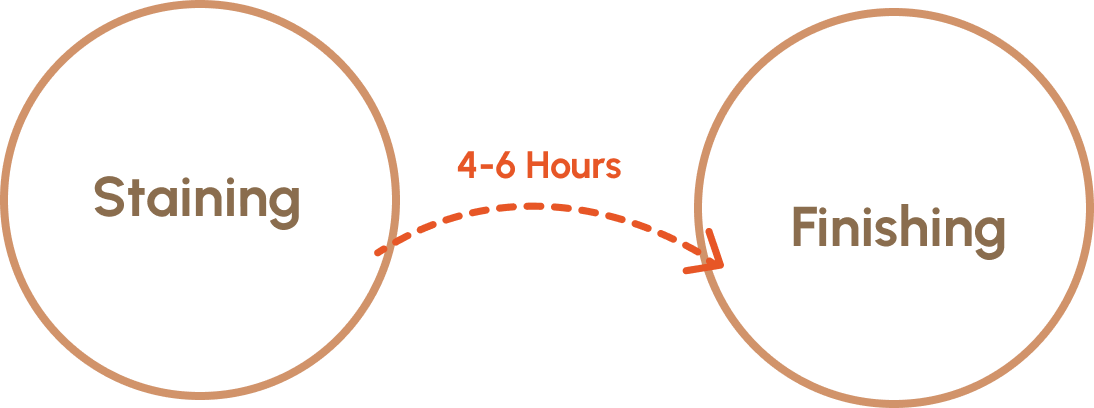
2. Staining
The next step is staining. But first, you will need to test the stain on an inconspicuous area to see its color. It will also help you identify how long it will take for the stain to dry. Once you have done these tests, you can start the process.
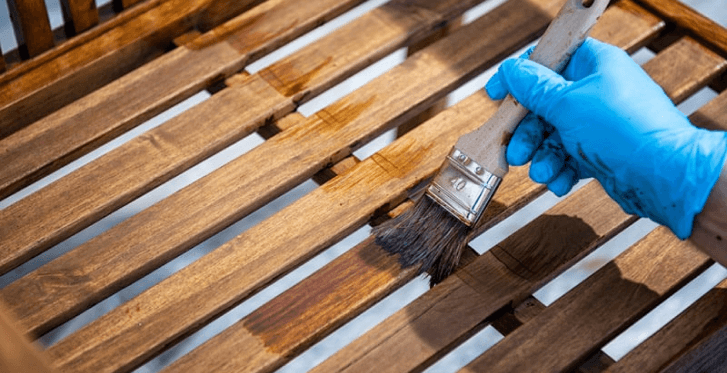
You can use a brush or a rag to apply the stain. However, brush tends to produce better results. Make sure to apply the stain evenly on the entire surface. Don’t allow it to drip as excess stain will lead to blemishes and an uneven surface.
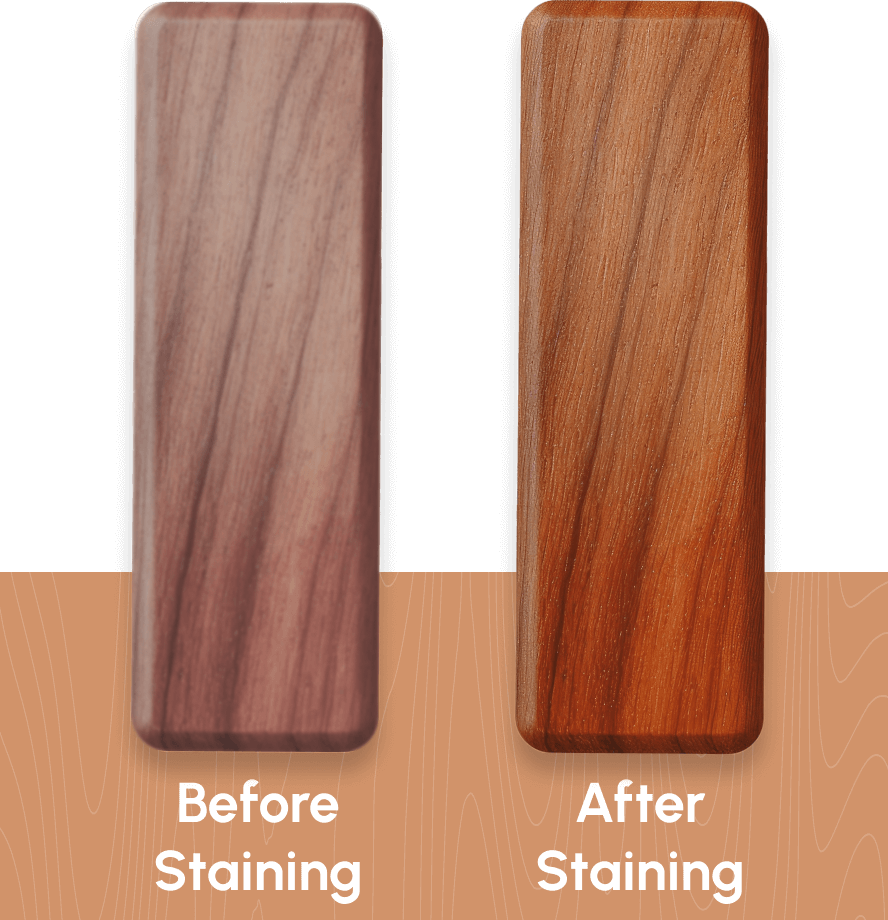
You can apply multiple coats of stain. But make sure to wait until the first coat has dried completely before brushing a new one.
Wipe out excess coating using a
cloth or a rag before it dries.
Remember, adding excessive stain will cause the color to change. The color should be even on the entire surface for aesthetic reasons.
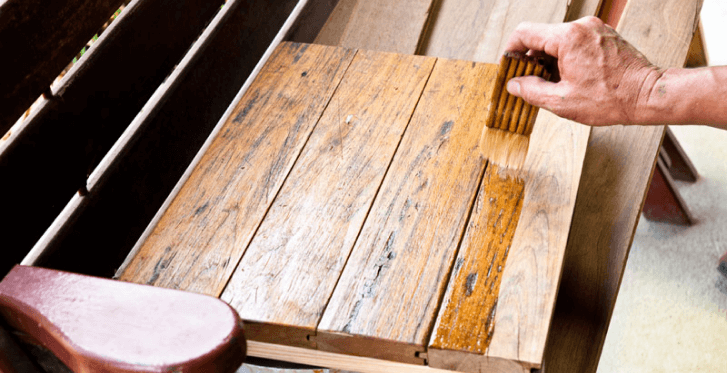
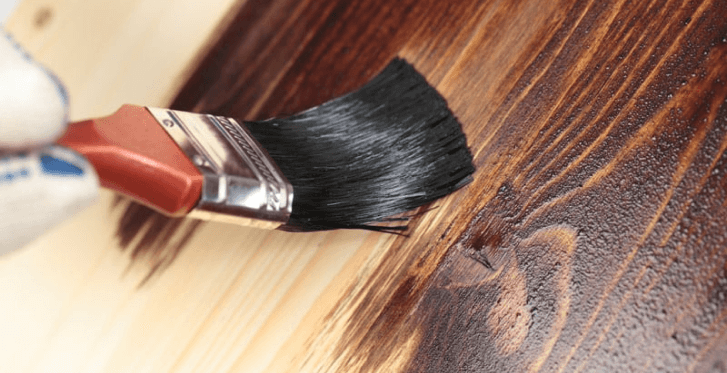
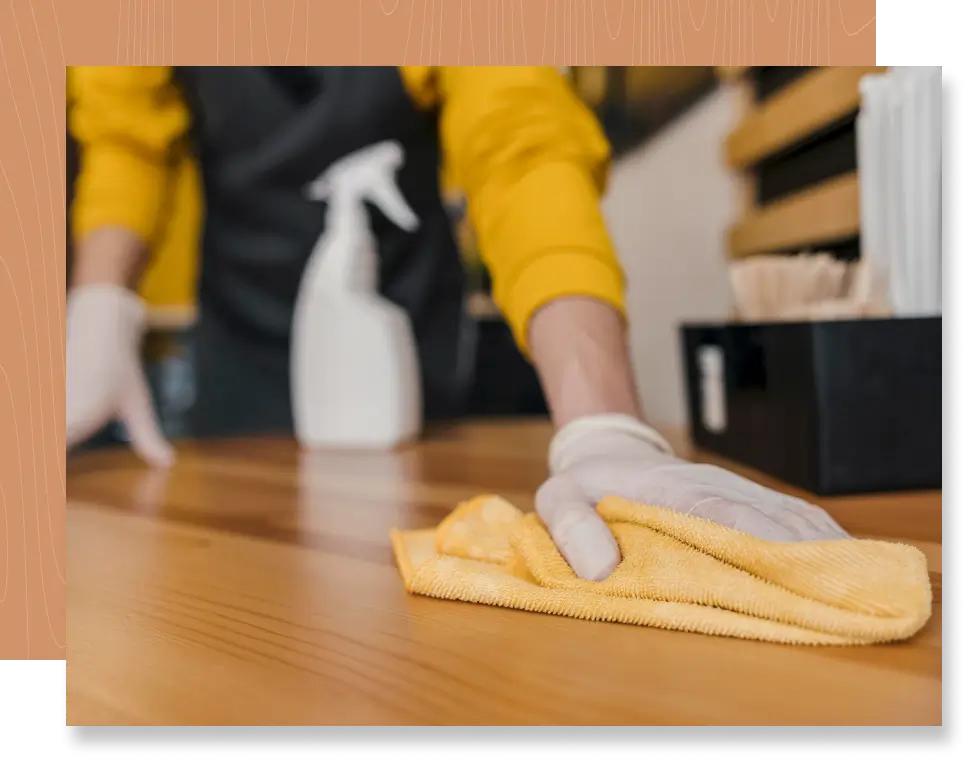
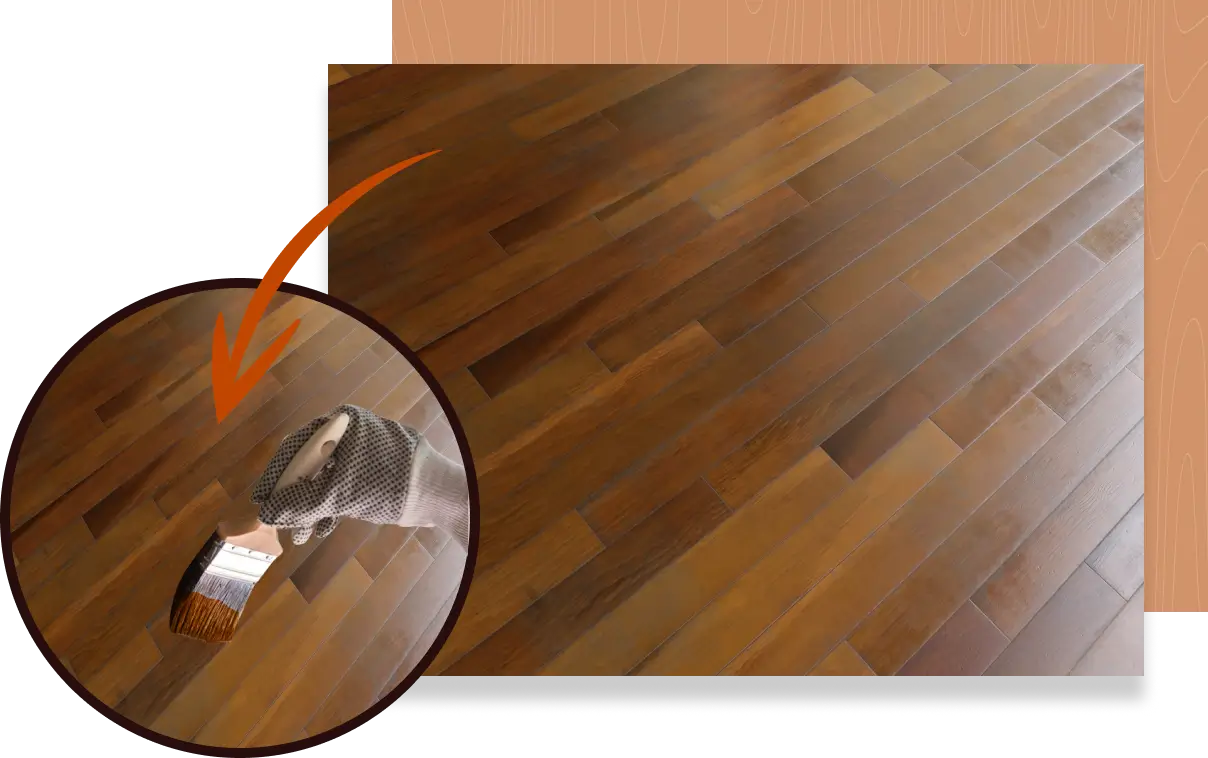
3. Finishing
After sanding and staining wood, comes the finishing. Take the factors mentioned in section B to choose a suitable finish. You can use a cloth or a brush to apply the finish. You may also need to use spray equipment for finishes like varnishes.

When applying the finish, just like the stain, allow the previous coat to dry before applying a new one. Sand it a little to make the next layer stick better. You should use a 280-grit or even finer sandpaper.
Remove any dust using a cloth or vacuum cleaner. Repeat this process until you get the desired results (usually 2-3 times). Always apply the finish, like the stain, with the grain, not against it. Make sure each brush stroke applies the finish evenly.
Sanding is not required for the final coat of finish. Once it has dried, use a cloth or a rag to remove any blemishes or particles left after the finishing. You will also need to leave the wooden piece untouched and unused for curing, which can take a couple days to a week in most cases.


Difference Between
WOOD STAIN &
wood finish
People often use wood staining and wood finishing interchangeably. However, they are far from being the same. To be able to achieve the best wood finish, you need to understand the difference carefully.
1. What is wood stain?

A wood stain usually mimics or enhances a wood color.
It can bring out the natural wooden color and pattern, which without staining remains benign.
2. What is wood finish?
A wood finish is the final layer of coating that covers the stain

It offers a shiny look to the wood and protects it from damage.
Wood Stain
Wood Finish
Change the color of the wood
Purpose
Create a permanent wet look and protect the wood from environmental damage
A stain is thinner compared to a finish
Consistency
A finish is much thicker than a stain
After sanding
Time of Application
After staining
Depends, water-based stains can dry as quickly as 15 minutes and oil-based can take as long as 72 hours
Drying Time
Drying time can vary from a few hours to few days
Brings out the grain and color of wood
Result
Makes the surface glossy and shiny with a wet look.


How to Tell Which Type of
Finish Is on Furniture
While you can apply any finish to fresh wood, you need to identify the existing finish for reviving the old ones. Knowing what the old finish is makes it easier and more effective to restore it.
You can use different solvents to identify what finish has been used on a piece of wood as they can dissolve even cured finishes. Make sure to perform the test on the inconspicuous parts of the furniture or items.
You can either add a few drops of the solvent or chemical on the wood surface or use a swab dipped in them to perform the test.
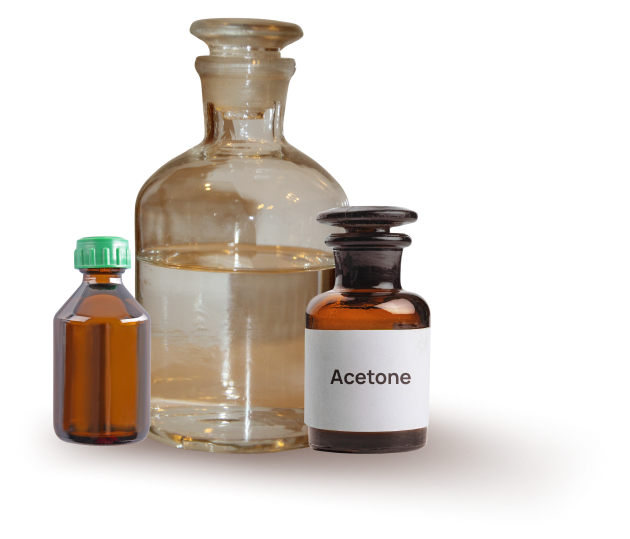
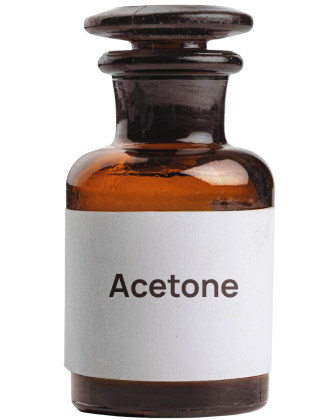
Solvent/ Testing Method
- Acetone
- Denatured Alcohol
- Lacquer Thinner
- Oil
- Xylene
- Paint Thinner/ Naphtha / Turpentine
- Mineral oil
- Simple scratch test
|
Reaction |
Type of Finish |
|
The swab becomes tacky |
Shellac |
|
The swab becomes beady |
Polyurethane |
|
Finish dissolves |
Lacquer |
|
Reaction |
Type of Finish |
|
Finish dissolves slowly |
Varnish |
|
Finish dissolves quickly |
Shellac |
|
Reaction |
Type of Finish |
|
Finish dissolves |
Lacquer, Shellac and water-based finishes |
|
No pronounced effect |
Urethane, Alkyd, or Phenolic varnish |
|
Reaction |
Type of Finish |
|
Oil beads on the surface |
Shellac, Lacquer, Varnish, or Polyurethane |
|
Reaction |
Type of Finish |
|
Removes the coating |
Water-based finish |
|
Doesn’t remove the coating |
Oil-based finish |
|
Reaction |
Type of Finish |
|
Finish dissolves |
Wax |
|
Reaction |
Type of Finish |
|
Waxy yellowish-brown stain |
Wax |

|
Reaction |
Type of Finish |
|
Scratch marks |
Wax |

Wood Finish
Application Tips
Applying wood finish, although sounds simple, requires you to take a few precautions for personal safety. Whether you are going for intricate furniture finishes techniques like French polishing or a simple paint job, make sure to take the following precautions.
1. get all your
workplace supplies
You are going to need a few essentials to get the best finish for furniture and also ensure your safety.

2. use the right brush
You are most likely to use a brush to apply the stain or finish. A good-quality brush should have the following characteristics:
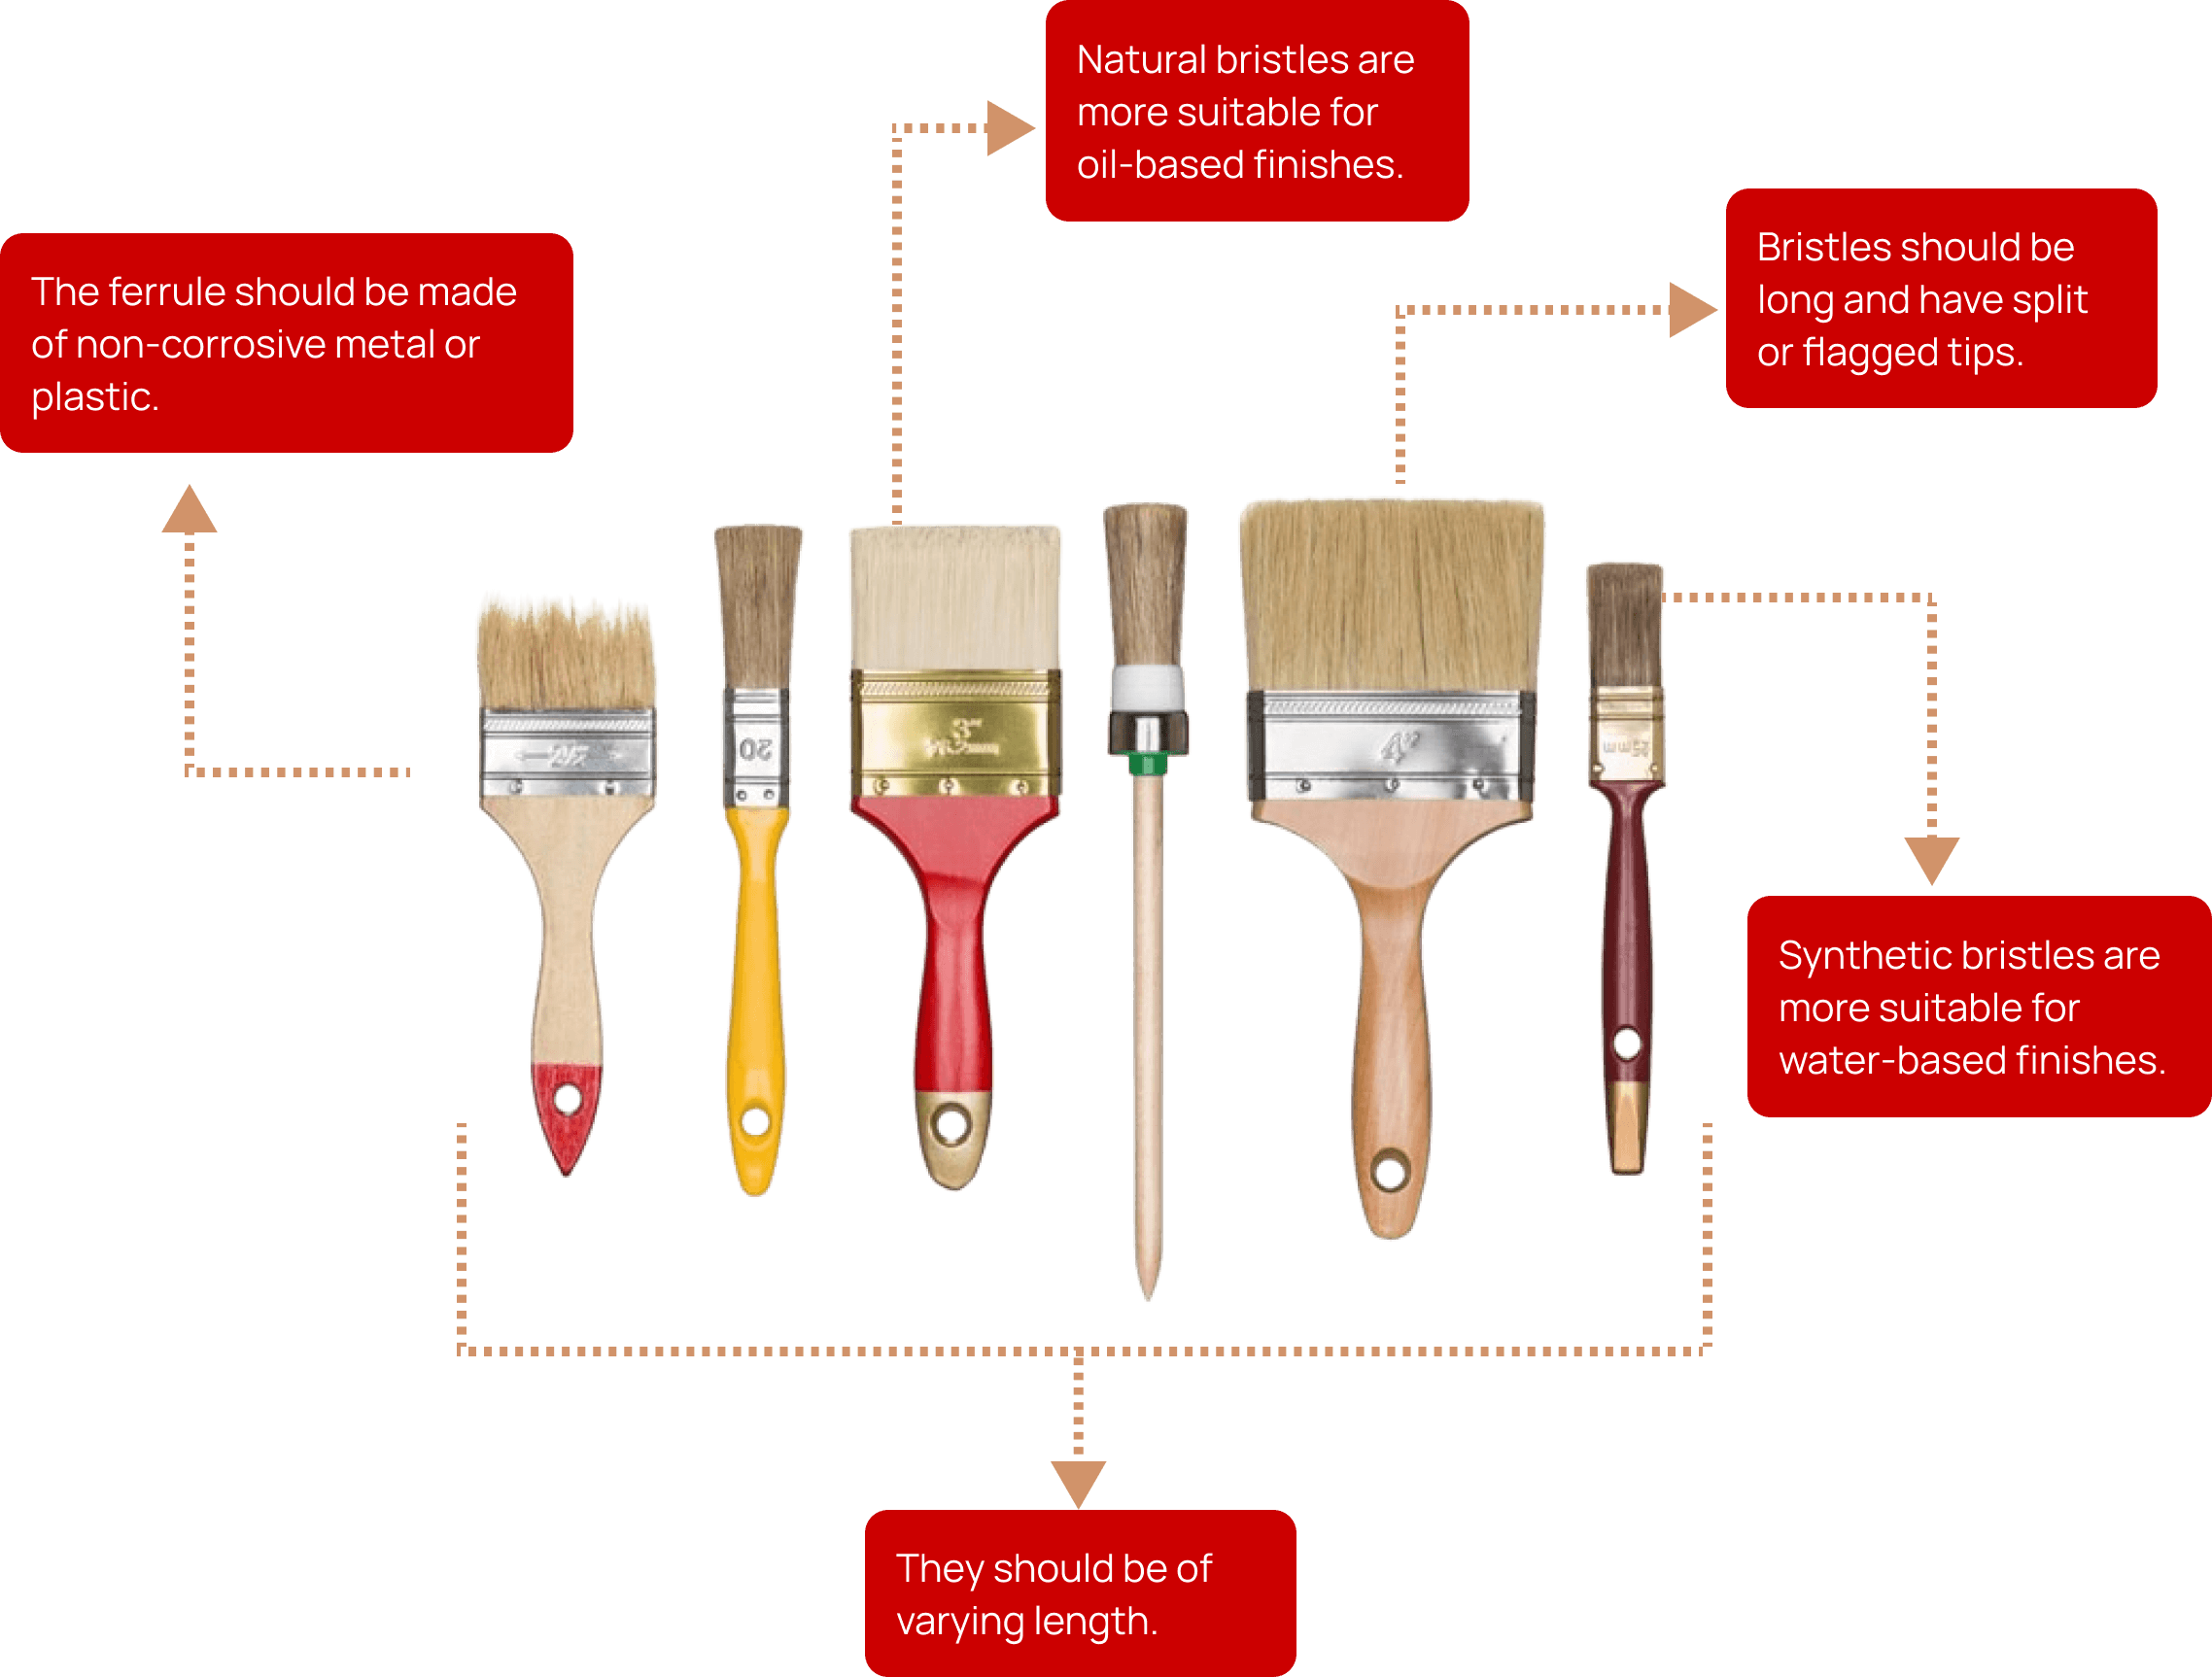
- Bristles should be long and have split or flagged tips.
- They should be of varying length.
- The ferrule should be made of non-corrosive metal or plastic.
- Synthetic bristles are more suitable for water-based finishes.
- Natural bristles are more suitable for oil-based finishes.
Keep your brush clean. If you are using it for water-based finishes, clean it with soap and water thoroughly. In case of oil-based finishes, use mineral spirits for cleaning.

3. Safety Always Comes First
In any DYI project,
Safety is and should be your first priority. Always make sure to take the following safety measures when finishing wood:
4. Things to Keep in Mind for Better Results
You should take additional steps to get better finishes. The following tips should help:


parting words
Finishing is the last, but the most important step in any wood work project. If done right, it can make your wooden furniture last longer and enhance its aesthetic appeal by a mile. Hopefully, understanding everything from types of wood finishings to how to stain and finish wood will help you create a superb finish for your wooden furniture. If you still have doubts or want to share your experiences, feel free to do so in the comments.