
Are you thinking about creating your own gaming den?
If you have access to some kind of spare room, chances are that you’d love to convert this space into a man cave-style sanctuary.
Whether you’d use it for kicking back with a beer or working out, having a place to call your own allows you to escape from the pressures of modern life.
And, for those of you who are passionate about gaming, having a room devoted to your favorite pastime must sound like the ultimate dream.
But, it doesn’t have to be a dream. Creating your very own gaming lair is an achievable objective for anyone willing to spend the time and energy needed to make it happen.
Follow our 12-step guide to find out how to create your very own gaming den.
Step 1: Scope out Your Spot
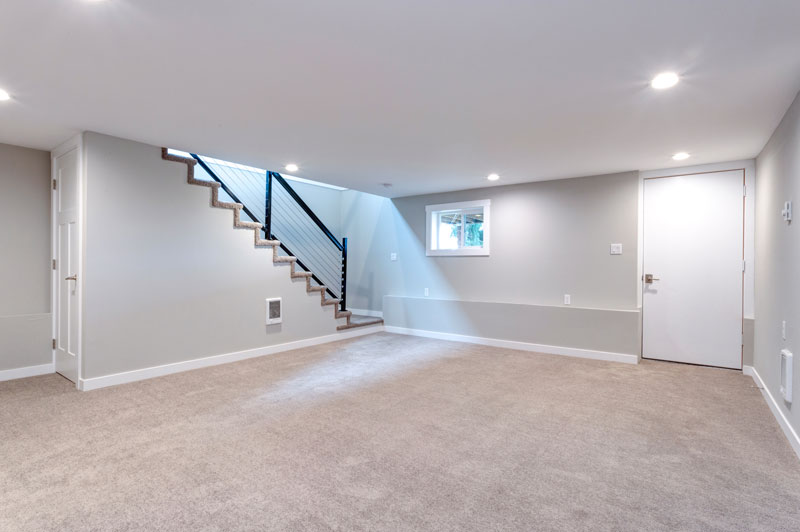
If you’re lucky enough to have a spare room in your home then this will make an ideal games room. But, if you don’t have that luxury, then, with a little bit of imagination, any area in the home can be transformed into a gaming lair.
Consider spaces that aren’t being used to their full potential, such as the attic or the basement. Once refurbished, basements and attics provide cozy settings for gaming rooms. And, they’re insulated enough to ensure that you won’t be disturbed by noise from the main part of the house.
You could even convert your garage, or at least part of it, into a space for gaming. Garden sheds work too, or, if space is really limited, you can even partition off part of the living room or a bedroom.
Step 2: Decide on Your Budget
You don’t need a lot of money to convert your chosen location into a gaming lair. When it comes to how to make a gaming room, what matters most is that you have somewhere dedicated to your gaming passions to call your own.
Some people may not want to spend anything more than time to get their games den up and running. Others may have plans to splash out big bucks on creating the ultimate gaming room.
But, whatever your spending plans, you need to decide on a budget to work with. With limited funds, you may have to scale down your ideas and prioritize certain features while saving on others.
If you’re planning to clear out your garage or basement to make way for your gaming room, use this to your advantage as a way to raise some cash. After all, there are an average 300,000 items in each US home, so you’re bound to have some items you can sell.
Consider old gadgets you no longer use, family heirlooms collecting dust in the attic, and retro toys and games. They might be more valuable than you realize.

Step 3: Prep Your Games Room
Once you’ve identified your location and planned a budget, you can start prepping your gaming room.
As well as clearing out any junk, you should crack on with decorating jobs. Depending on what your future games den used to be, this could involve stripping wallpaper, painting, installing insulation, or in the case of an attic, you might need to reinforce the flooring.
You should also take the time to consider whether electrical work might be needed. For example, you might need to add or relocate electrical sockets for your gaming equipment.
Step 4: Plan Your Layout
While you’re prepping and decorating your room, you’ll also want to consider how you plan to fill your gaming room and where everything will go.
Make a list of everything you want to include in your games den, keeping your budget in mind. Stick to items you can afford or ones that you might be able to find for a good price.
This is your room, so prioritize what’s important to you and decide how you’ll make use of the space.
A TV is a must, as well as a comfortable gaming chair. If you have space and a big enough budget, many of the ultimate gaming rooms you’ll find online also include a bar. This is a great touch, especially if you plan on inviting friends over for gaming nights.
You might even consider additional games such as a pool table, darts board, or table football. Ultimately, your space restrictions and budget will determine how adventurous you can be. But remember, you can always add items over time to gradually create the gaming lair of your dreams.

Step 5: Get Connected
With the layout decided, you can start connecting your room up if it’s not yet ready to support your gaming equipment.
To make the most of your games den, it’s wise to invest in modern technology. This allows for a diverse and interactive gaming experience.
Look into Chromecast or Apple TV for ways to access a variety of devices through wireless hardware. This will cut costs too. This is because you’ll be able to create a multi-platform gaming den without buying multiple consoles.
A big factor to consider in this case is your internet connection speed. You don’t want your slow connection to interfere with your ability to play games online or stream in HD.
Rather than settling for a standard router, it pays to go for an elite Wi-Fi router. This is the best option to boost your connection as the signal will be strong, no matter where your games room is in relation to your router.

Step 6: Install a Large Screen Display
It goes without saying that the focal point of your gaming lair will be a large screen television.
Whether you use your games room for playing console-inspired titles, or enjoy online casino gaming, the TV in your games room will be where all the action happens.
The single large screen also provides a central design feature for the room for a way to optimize space and finalize your layout. And, if you’re having friends over for games nights, a large screen will bring you all together.
Alternatively, you might prefer to opt for a projector. This way, you can benefit from a much larger screen display for less money. And, when it’s time to update, you only need to replace the projector.
Your budget and the size of your lair will determine how big you can go with the screen. After all, a 140-inch screen will be overwhelming in a room that’s only five feet deep. So, make sure you measure everything to ensure that the screen you go for is a good fit for your den.
Step 7: Choose the Right Games
With a den devoted to gaming, you want to make sure you have the right selection of games to keep you entertained for hours on end.
Access to games that you can play and play without getting bored is a must. Whether it’s the latest installment of Call of Duty or your favorite online game, creating your ideal gaming experience is key to making the most of your games den. The last thing you want to do is to splash out on games that you can complete in a few days.
And remember, if you plan on inviting your buddies over for a gaming night, make sure you have a good selection of games that work well with multiple players.
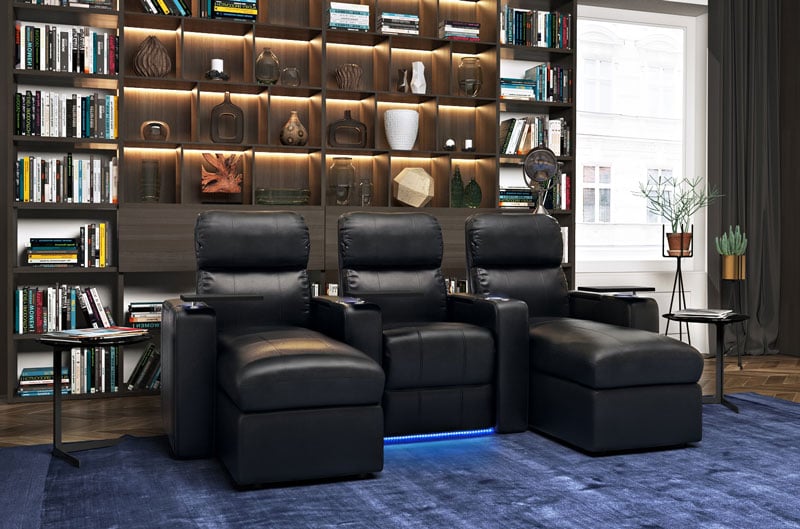
Step 8: Invest in Quality Seating
The next step is to ensure that your games den has all the comforts necessary to create the kind of space you never want to leave. Aside from games and a screen to play them on, there’s nothing more important than comfortable, good quality seating.
As well as providing a place for you and your friends to relax in-between games, you want supportive seating that won’t distract you from gaming.
Features such as a reclining function and cup holders, as well as extra accessories such as additional armrests or a phone holder, will ensure the ultimate gaming room experience.
Step 9: Consider Sound and Lighting
These days, games graphics are so advanced they almost look like movies. So, it makes sense to complement your gaming experience with the same attention to sound and lighting that you’d find in a home theater.
Powerful surround-sound speakers are ideal for the ultimate gaming experience. Or, for those time when you end up playing late into the night, noise-canceling headphones will ensure great sound without waking up the rest of the house.
It also pays to spend some time getting the lighting situation right. Blackout blinds can help you avoid glare on your screen, while spotlighting can add to the tension of a gaming tournament between you and your friends.
Step 10: Personalize Your Space
You might not have had much of a say when it came to decorating the rest of the house. And that can have a negative effect on how you react to your environment.
As well as having a place to devote to your passion for gaming, your games lair also represents a place to call your own within the home. So, take some time to consider how you’d like to decorate.
Expressing your own style and tastes in your gaming den helps create harmony between your environment and your emotions. This harmony allows you to relax on a deeper level and might even improve your gaming skills!
That means not settling for the pastel wallpaper left over from when your future games lair was a guest bedroom. Make every inch of the room your own by decorating and personalizing your games den as you wish, with your choice of colors, furniture, and decor.
Video games posters make create wall art for your den. Whatever your gaming preference, be inspired by hanging up artwork from your favorite games, such as Assassin’s Creed, Fortnite, or Skyrim. And, if you have game figurines or other collectibles you might want to put up shelving to show them off.
A low table in front of your seating area is ideal for laying out drinks and snacks when the guys come over. And of course, a mini-fridge in the room is very convenient for entertaining too. This way you can avoid trips to the kitchen when you want fresh drinks or dips.

Step 11: Upgrade Security and Insurance
When your gaming room is equipped with everything you need for a great gaming experience, you might need to consider additional security for your den.
If you have young children in the house, all that shiny new technology will draw them to your games room like a magnet. Before you realize it, they will have had their sticky fingers over everything, and your expensive equipment could be wrecked.
Fit a lock on your games room to keep unwanted intruders away. And, if you’re installing your gaming equipment in external buildings such as your garage or shed, you might need to consider added security features or extra insurance to make sure you’re covered for theft or damage.
Step 12: Invite Your Friends
Now that your gaming lair is all set up, all that’s left to do is invite your buddies for the ultimate gaming night!
And, once they see how great your games room is, they’ll be sure to want one of their own.

Your Guide to Creating the Ultimate Gaming Den
Creating your perfect gaming den doesn’t have to mean splashing the cash. But, as this step-by-step guide shows, there is a degree of planning and preparation involved, as well as a few factors you might not have considered.
Above all, your gaming den should represent a relaxing space devoted to your passion for gaming. Just remember, whether you’re playing solo or decide to invite the guys for some multi-player fun, the right environment is key for the best gaming experience.
For more information about creating your very own gaming lair, feel free to contact us with any questions or queries.